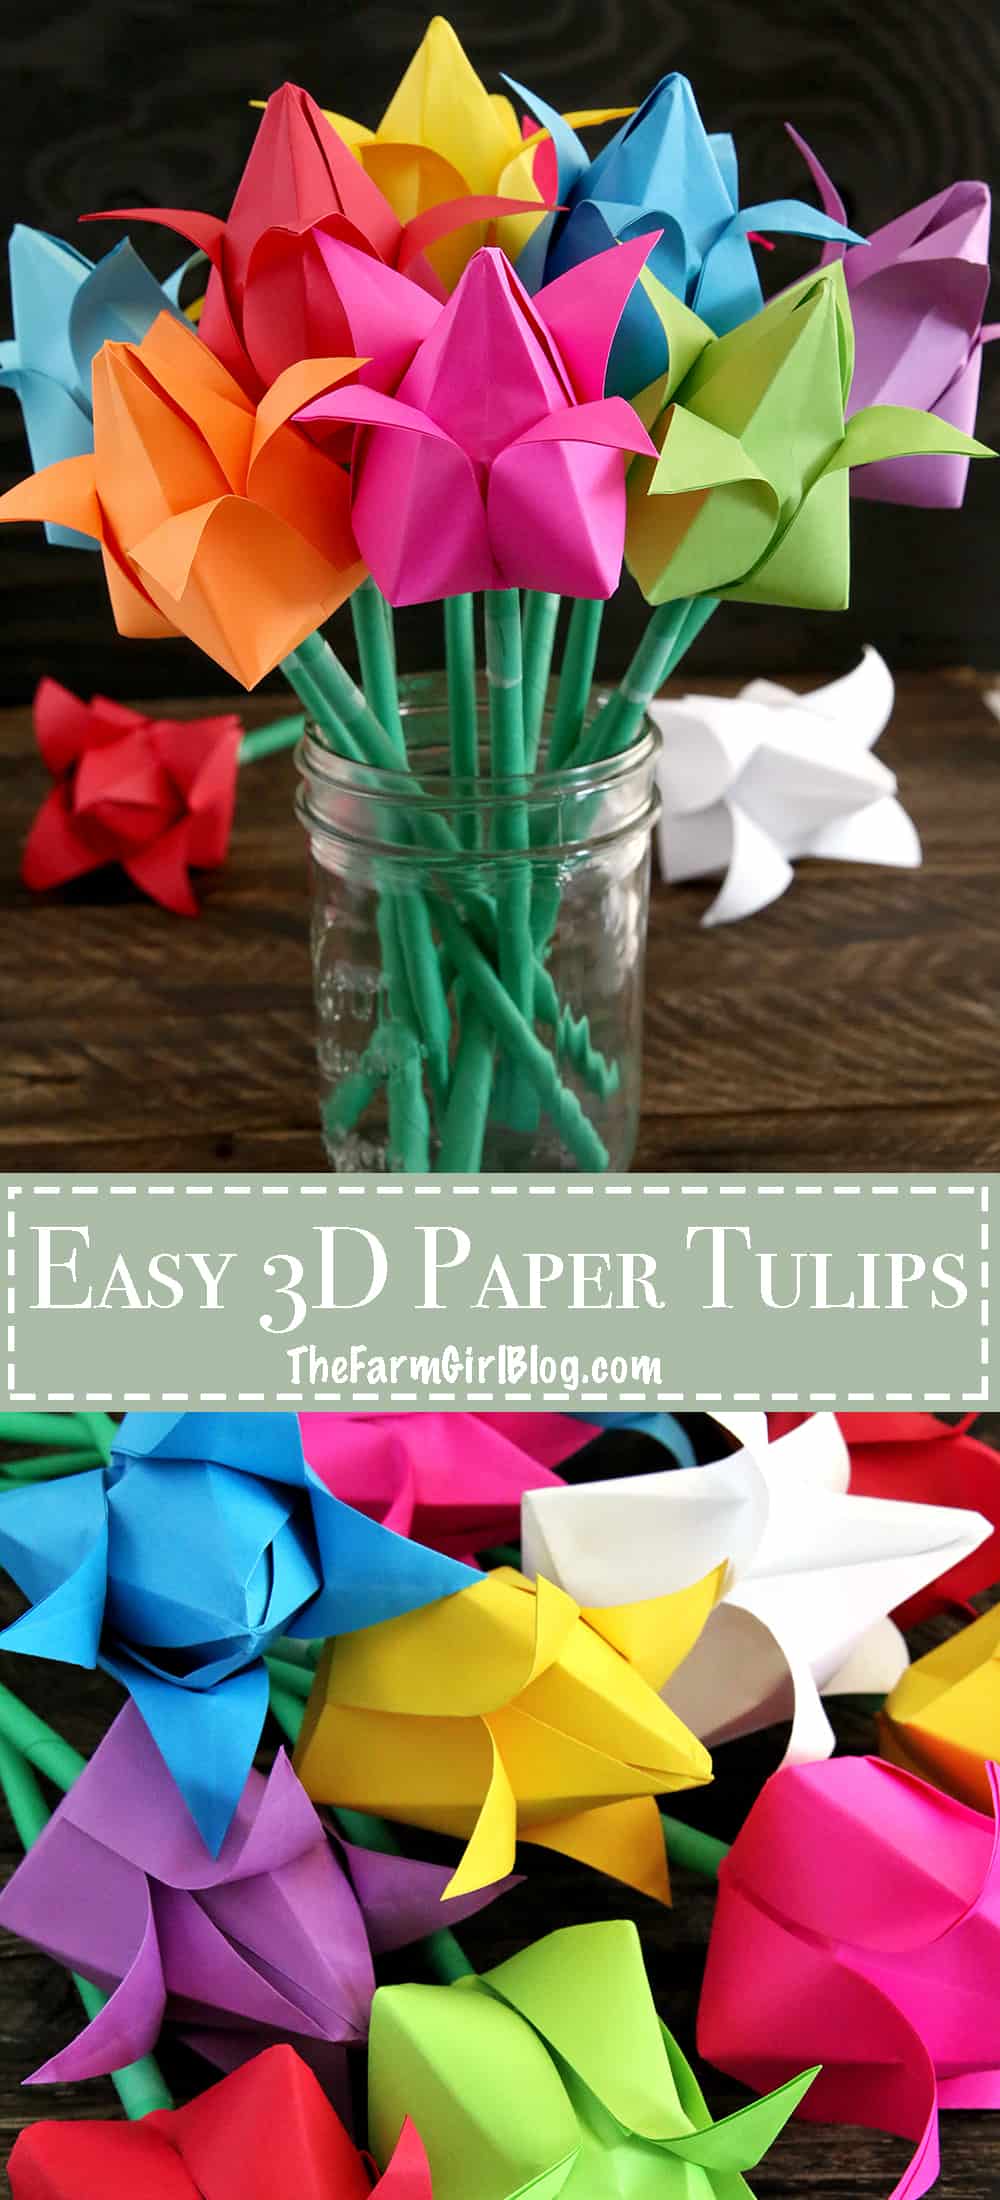
Learn how to make some easy paper tulips in this post! It's the perfect spring craft project for kids of all ages and comes together in just a few minutes. What's best is that these paper tulips create a beautiful gift for Mother's Day too!
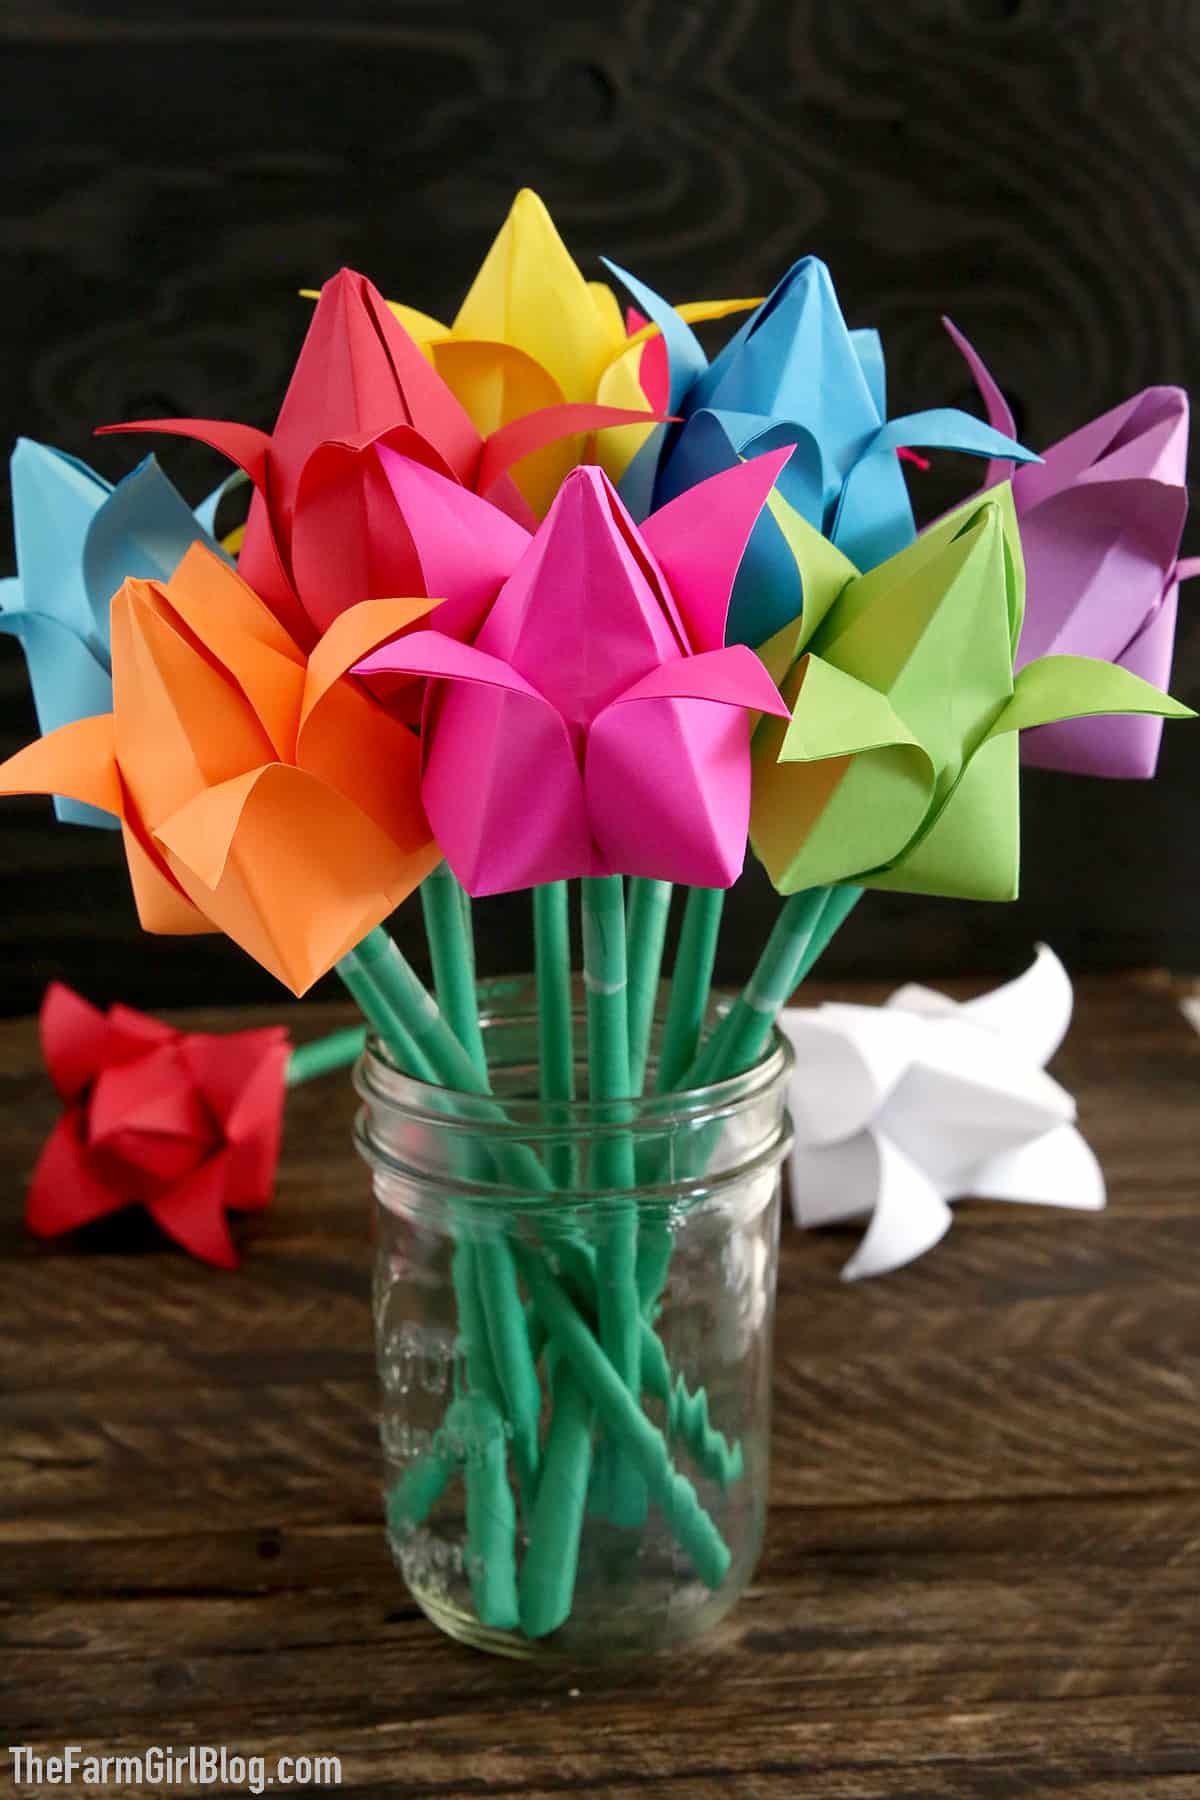
This origami paper tulip tutorial is absolutely beginner-friendly. This means that even if you've never tried any paper crafts before, you should be able to do it properly on the first go!
They're absolutely stunning and you can make them using a variety of different colored papers for a stunning paper tulip bouquet! I've been making these for as long as I can remember, and it has never failed to impress both adults and kids alike!
These paper tulips are also a great gift for Teacher's Day at the end of the school year. With my simple instructions and video, you'll be able to make them in a matter of minutes. What's best is that you can simply use regular paper to make these beautiful paper flowers.
Want to learn how to make Paper Tulips? Then keep on reading!
Table of Contents
What are Paper Tulips?
Paper tulips are a type of origami craft that creates beautiful paper flowers made from construction paper. They are easy to make and look great even when created with regular paper.
The base of the flower is made by folding a piece of paper in half and then cutting along the diagonal center line. It's then folded together to form a tulip shape. Additional folds are made to give the flower petals a more realistic shape.
Colored paper can be used in place of plain white paper for a more vibrant look. Paper tulips make great gifts or decorations, and they can even be used as party favors or table decorations! What's best is that they make beautiful gifts for Mother's Day or even Teacher Appreciation Day!
Why This Is The Best Paper Tulips Tutorial
Kid-friendly: If you have young kids around, this is the perfect paper craft for them. In fact, it's great for kids of all ages and absolute beginners too!
Quick and easy: These paper tulips are incredibly quick and easy to make. You'll have the most beautiful paper tulips in a matter of minutes!
Great gifts: These stunning paper tulips make for great gifts. Kids absolutely love gifting them to their moms for Mother's Day or their favorite teacher for Teacher's Appreciate Day at the end of the year!
Simple supplies: What's best is that you only need simple crafting supplies to make these at home. In fact, you probably have most of them at home already!
What You Need to Make Paper Tulips
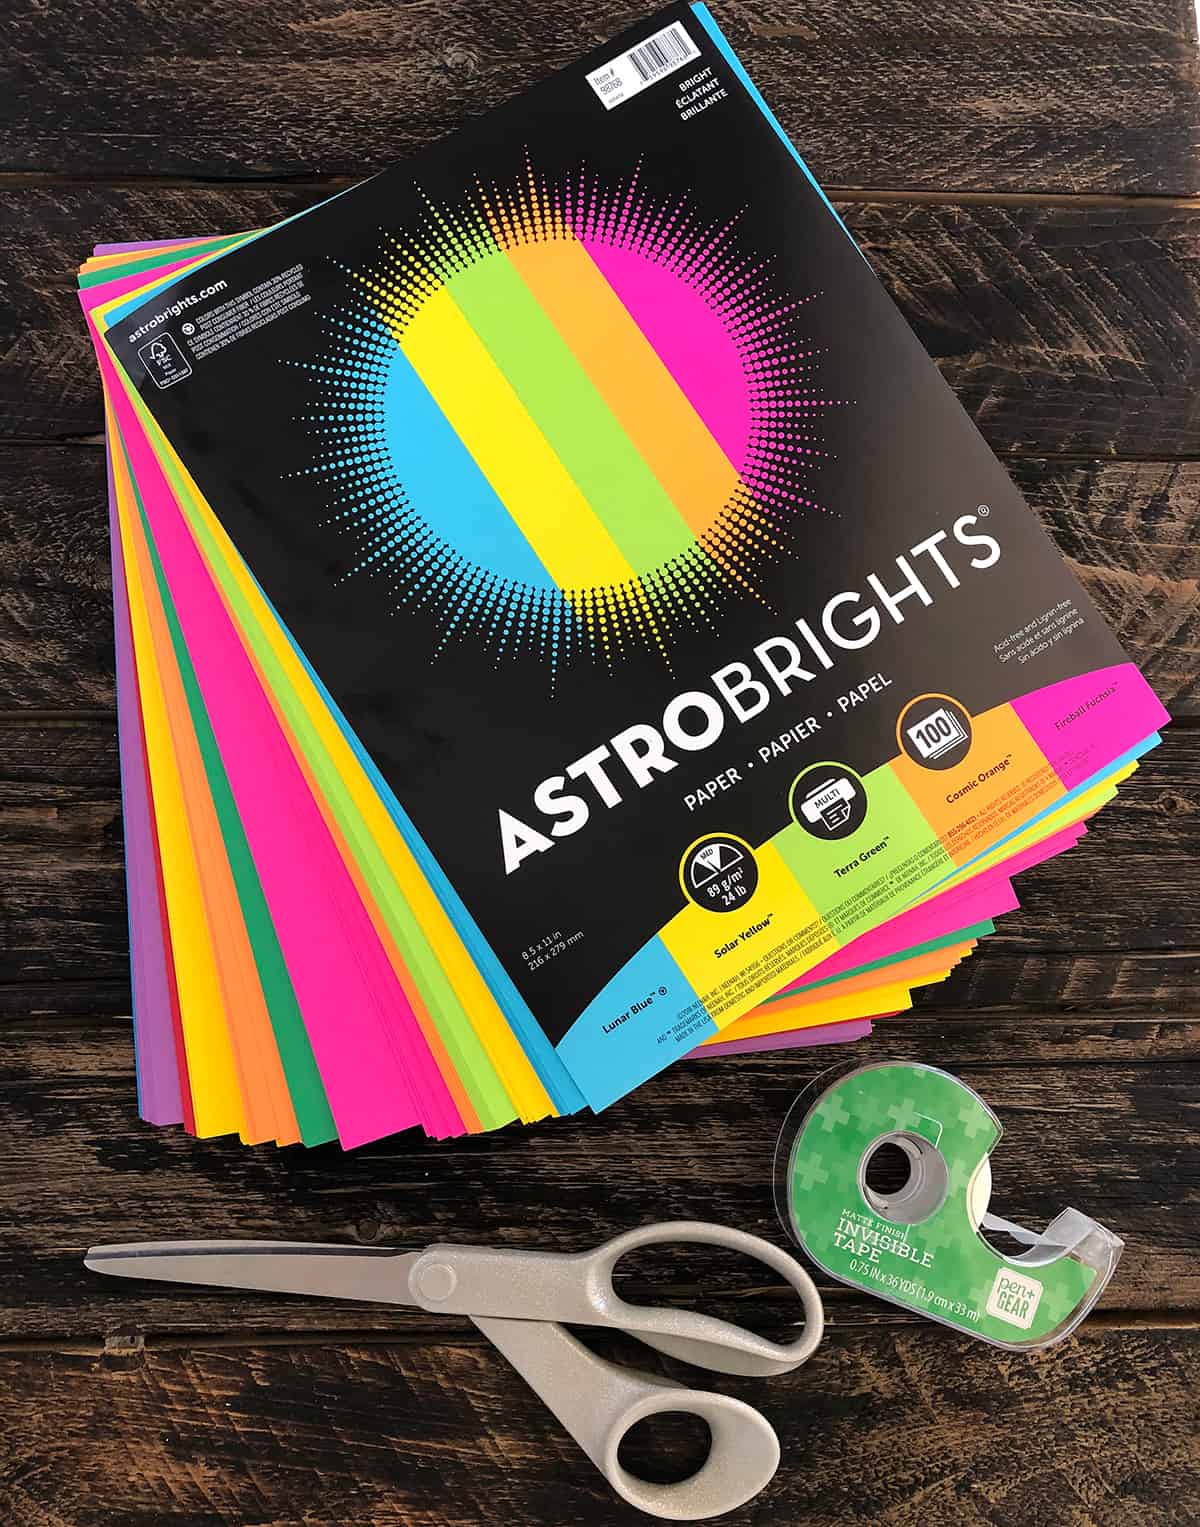
All you need are three simple crafting supplies to make these stunning paper tulips. Let's look at each of these in more detail:
- Paper: For the flowers, go for either regular paper or origami paper. I recommend going with different colored ones, or maybe having a color theme for a beautiful bouquet of these paper flowers! I've used green construction paper for the stem since it holds its shape better.
- Scissors: Next, we'll need some scissors to cut the paper so that it makes a perfect square.
- Tape: You'll also need some transparent tape that we'll use to tape our stem so that it holds its shape.
How to Make Paper Tulips (Step-by-Step)
Making these delicious Paper Tulips is incredibly easy and absolutely beginner friendly. Here's how to make it step by step:
How to Make Paper Tulip Flowers
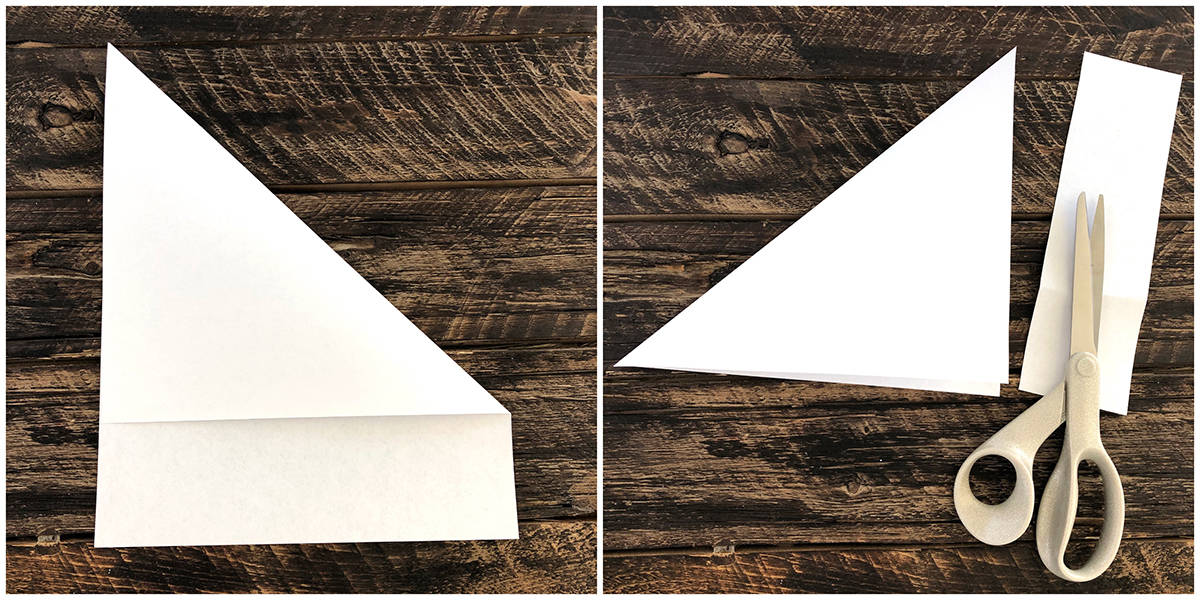
Lay a regular 8½ x 11 paper on a flat surface. Then fold the left corner down to the right side. Make sure the corner is creased at the very tip.
Next, using a pair of scissors, cut out the bottom rectangle part of the paper. You'll end up with a perfect square of paper that's ready for this easy paper tulip crafting project!
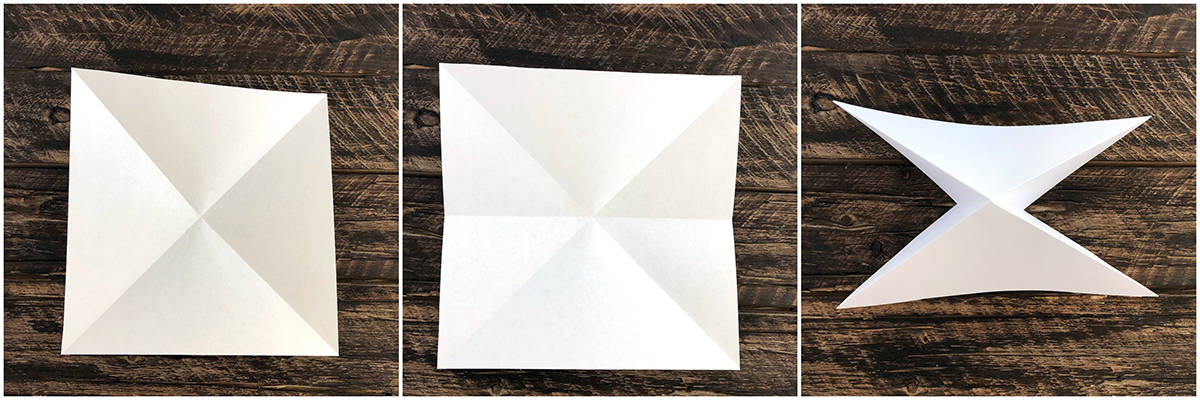
Unfold the paper to get a perfect square and then fold the opposite corner (this time to the upper right corner) to the lower left corner and then unfold it. This should create diagonal creases on your paper as shown in the picture below.
Now fold the square paper in half, and then unfold it again.
Next, bring the left and right creases to the center and the paper should collapse into a triangle.
Fold both the left and the right corner flap up to the top corner. Flip the tulip over and repeat the same steps on the other side.
Finally, tuck the right flap into the left flap as much as possible. Flip the tulip over and repeat the same step with the other side.
Now spread the flaps apart. Hold both flaps and gently blow some air into the opening for the tulip to open up.
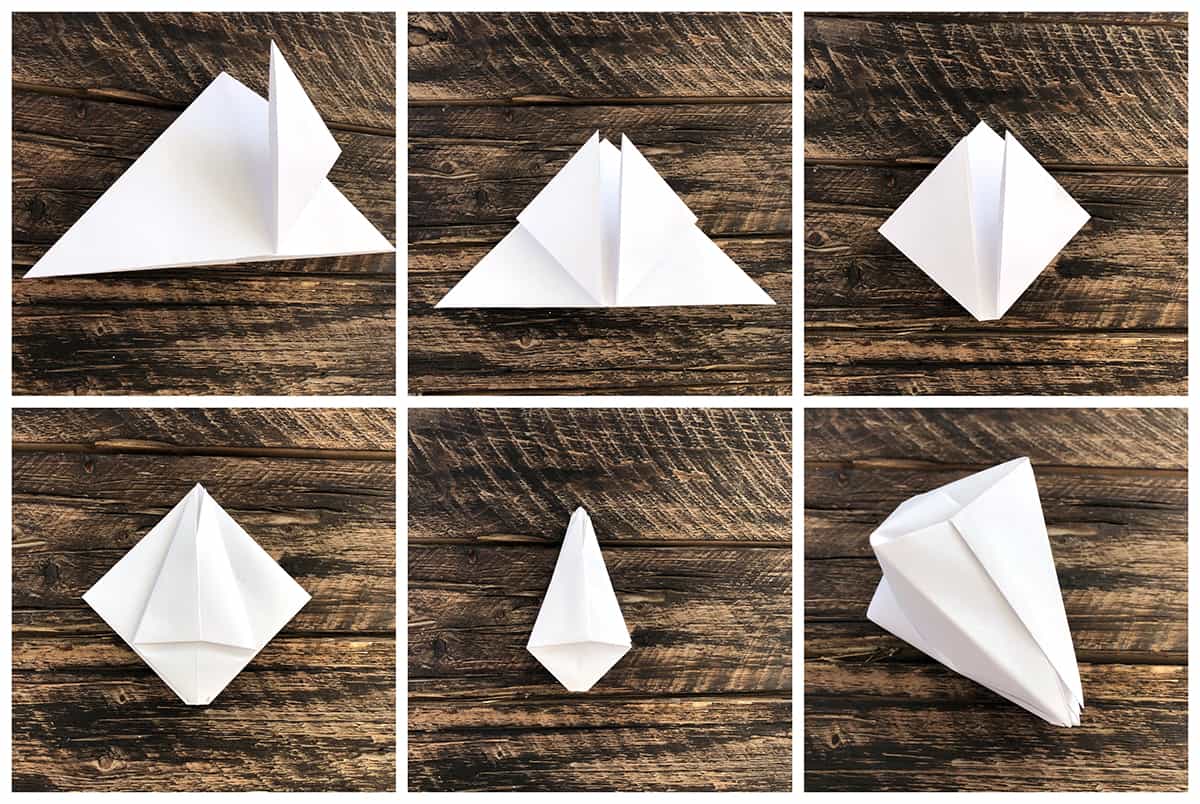
Fold or curl the petals of the paper tulip down.
How to Make Paper Tulip Stems
Using half of the 8½x11 green color construction paper, roll the paper into a small tube to represent a tulip stem.
Use transparent tape on the edge so that the stem maintains its shape
Insert the stem into the tulip opening where you blew air into the paper tulip to inflate it.
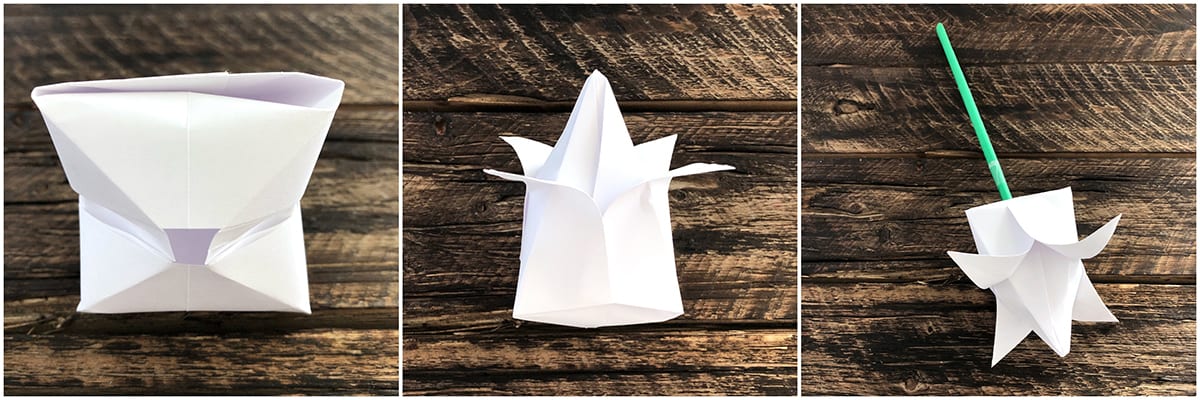
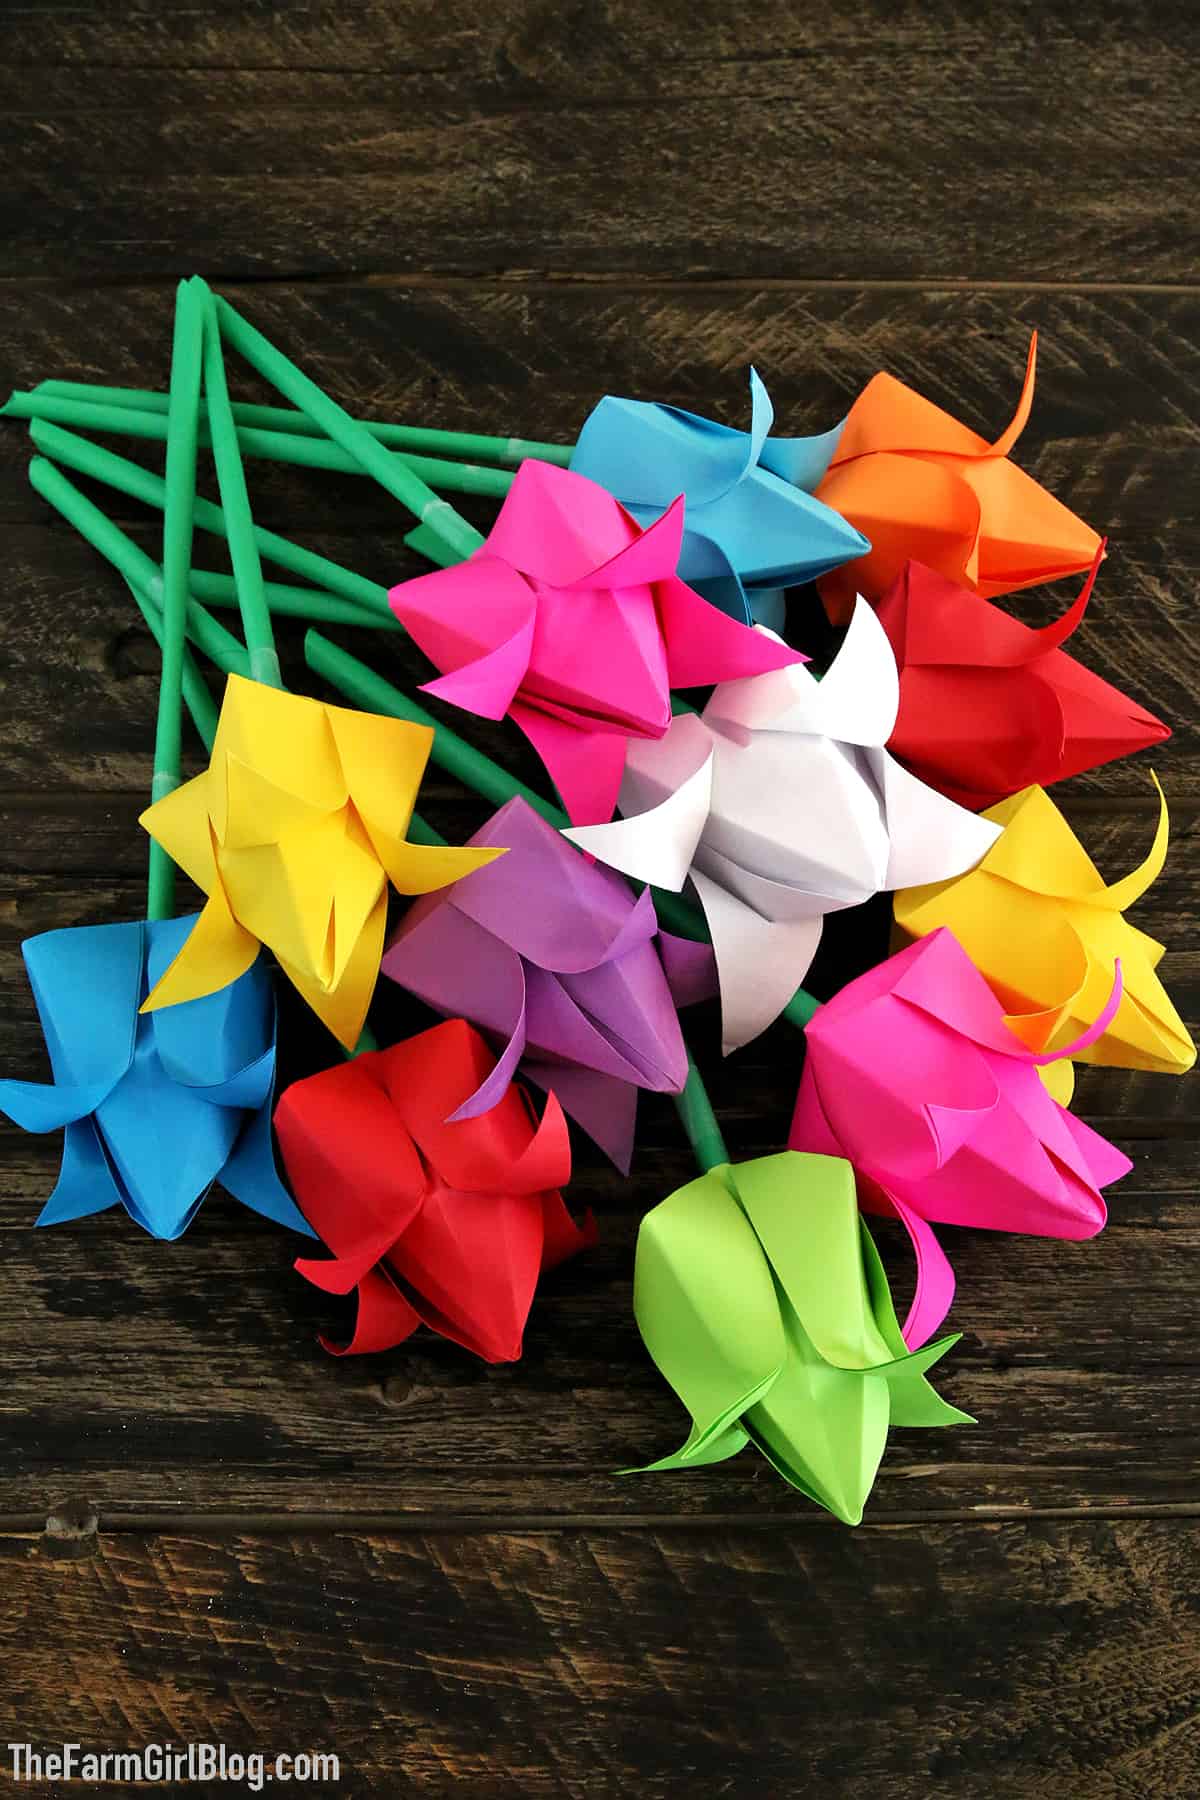
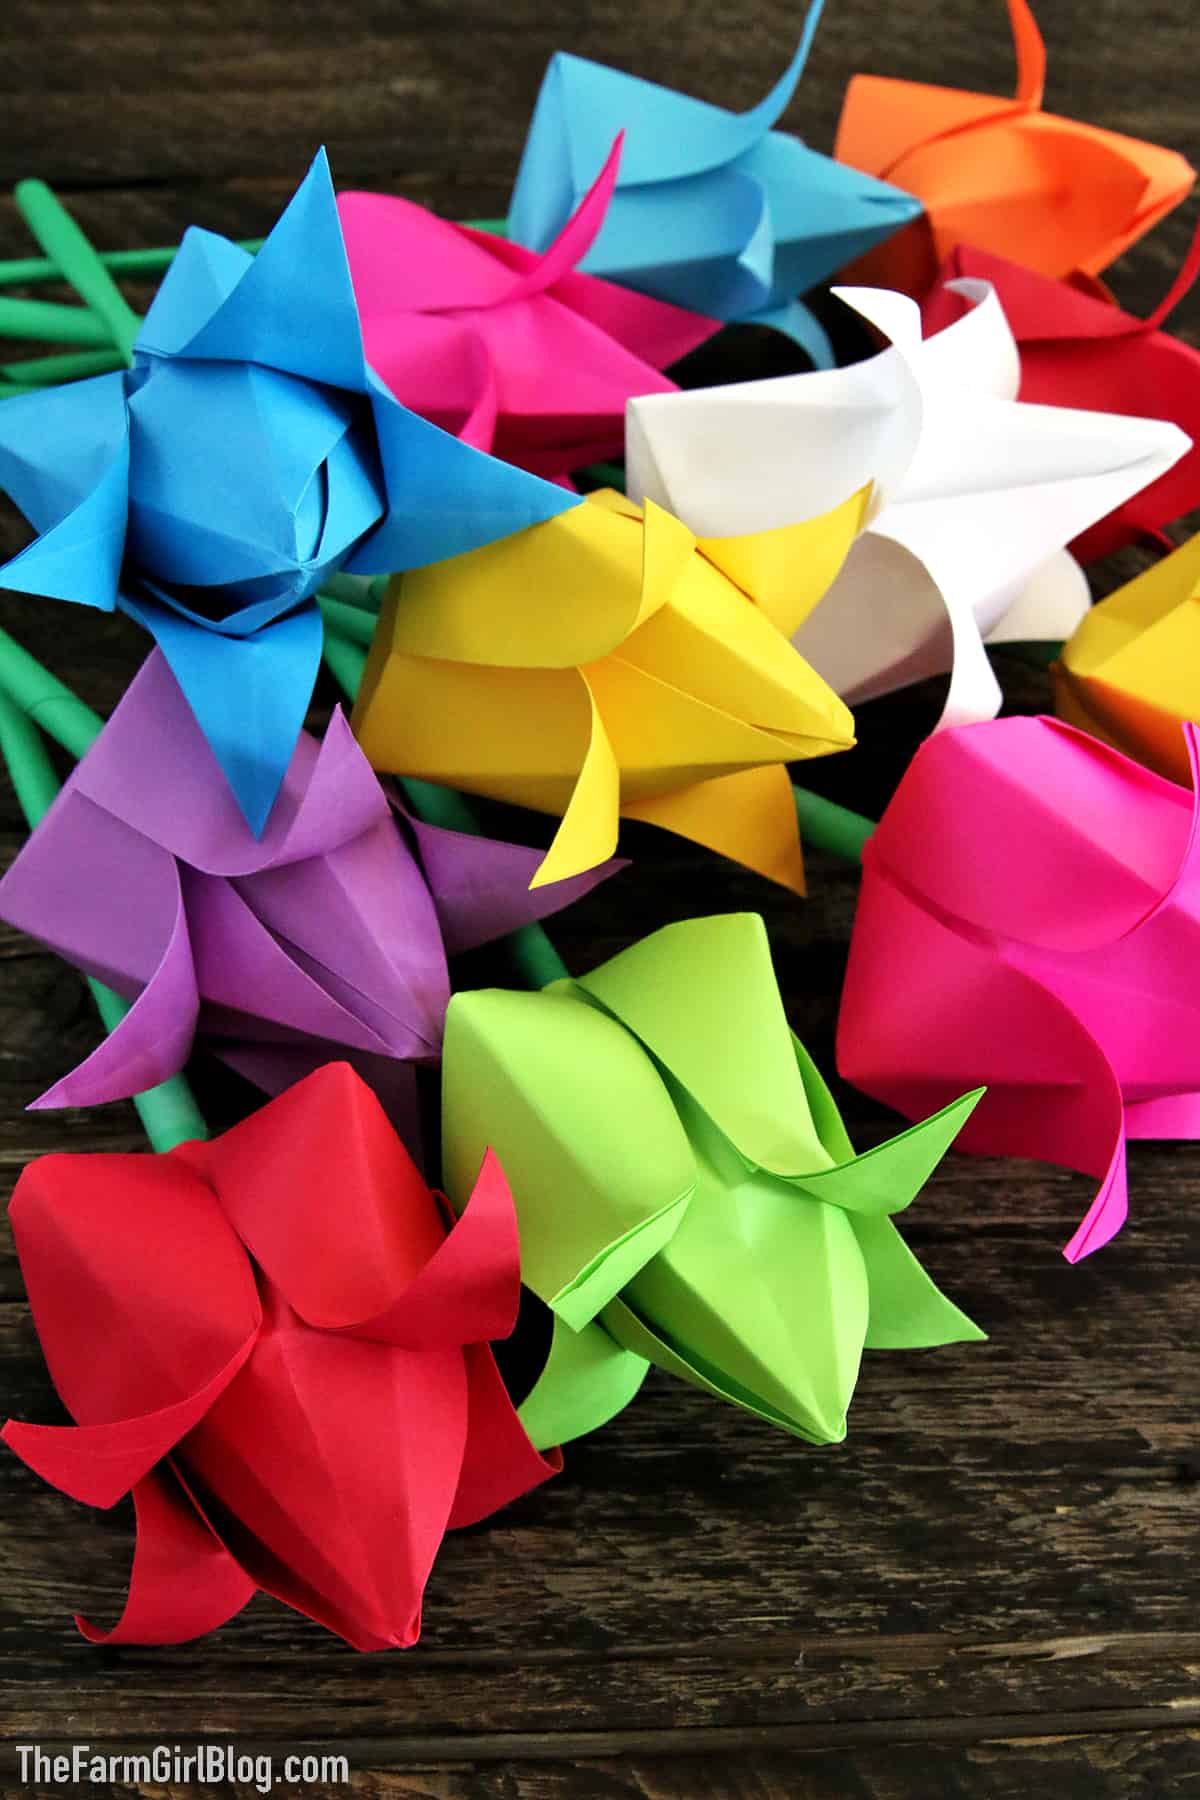
You can use different colors of paper to make a beautiful bouquet of tulips. Place tulips into the pint jar or a small vase.
Your stunning Paper Tulips are ready for gifting or decorating!
Tips for Making the Best Origami Paper Tulips
When making paper tulips, it is important to be precise in following the instructions. This will ensure that your paper tulips turn out like you want them to and so that they all look the same. Here are some tips for making the best paper tulips:
Choose the right paper. To make these tulips, it is best to use origami or regular printer paper. You can also opt for colored paper if you want a more vibrant look.
Crease the edges properly. Make sure you crease the folds properly and cleanly for the best results.
Be gentle when unfolding and folding the paper. Too much pressure can damage the paper and make it difficult to make a good-looking paper tulip.
Take your time when making them and enjoy. This is especially true when making the stem. Don’t rush and make sure that you tape the edges of the stem properly so that it holds its shape.
Video Tutorial on How to Make Paper Tulips
Are you a visual learner? Watch this video where I show you exactly how to make these paper tulips using the steps I've mentioned above. Trust me, it's incredibly easy and absolutely beginner-friendly!
If you enjoyed this video recipe give it a thumbs up, and don’t forget to Subscribe to my YouTube channel for more scrumptious videos like this one! Be sure to click the notification icon so you can be the first to know of a new video release!
More Crafting Posts
Easy Paper Tulips (Beginner and Kid-Friendly Tutorial)
Materials
Supplies you Need to Make Paper Tulips
- 12 - color construction paper
- 1 - scissors
- 1 - clear tape
Instructions
How to Make Paper Tulip Flowers
- Lay a regular 8½ x 11 paper on a flat surface. Then fold the left corner down to the right side. Make sure the corner is creased at the very tip.
- Next, using a pair of scissors, cut out the bottom rectangle part of the paper. You'll end up with a perfect square of paper that's ready for this easy paper tulip crafting project!
- Unfold the paper to get a perfect square and then fold the opposite corner (this time to the upper right corner) to the lower left corner and then unfold it. This should create diagonal creases on your paper as shown in the picture below.
- Now fold the square paper in half, and then unfold it again.
- Next, bring the left and right creases to the center and the paper should collapse into a triangle.
- Fold both the left and the right corner flap up to the top corner. Flip the tulip over and repeat the same steps on the other side.
- Finally, tuck the right flap into the left flap as much as possible. Flip the tulip over and repeat the same step with the other side.
- Now spread the flaps apart. Hold both flaps and gently blow some air into the opening for the tulip to open up.
- Fold or curl the petals of the paper tulip down.
How to Make Paper Tulip Stems
- Using half of the 8½x11 green color construction paper, roll the paper into a small tube to represent a tulip stem.
- Use transparent tape on the edge so that the stem maintains its shape
- Insert the stem into the tulip opening where you blew air into the paper tulip to inflate it.
- You can use different colors of paper to make a beautiful bouquet of tulips. Place tulips into the pint jar or a small vase.
- Your stunning Paper Tulips are ready for gifting or decorating!
If you make these Easy and Gorgeous 3D Paper Tulips, please share a picture with me on Facebook, Instagram, or Pinterest. Tag with #thefarmgirlblog. I’d love to see your creations!
Love this Easy and Gorgeous 3D Paper Tulips craft project? Please Save and Pin on Pinterest!


Leave a Reply