Transplanting tomato seedlings may seem daunting to some, but it is a relatively simple process that can be easily mastered with a bit of guidance.
Tomatoes are a staple in many gardens, and for good reason. They are easy to grow and produce a bountiful harvest with minimal effort. However, in order to ensure a successful tomato crop, it is important to start with healthy seedlings and to transplant them at the right time.
In this post, we will discuss the best practices for transplanting tomato seedlings, including when to transplant, how to prepare the soil, and how to properly plant and care for your seedlings.
Whether you are a seasoned gardener or just starting out, this guide will help you to grow healthy and productive tomato plants.
Table of Contents
Supplies You'll Need to Transplant Tomato Seedlings
All you need are four simple gardening supplies to transplant your tomato seedlings. Here's what you'll need:
Small Shovel
You're going to need a small garden shovel to dig the holes for your seedlings. Remember that the holes will be very small, so you shouldn't use anything bigger than a garden trowel. In a pinch, you can even use a regular kitchen spoon, just be careful not to bend it!
Water Can
There are many shapes and sizes of watering cans available, so you'll have to pick the one that best suits your garden size. However, I recommend investing in a small watering can for your seedlings, between .5 and 1 gallon. This makes it easier to water the base of the seedlings, which prevents disease and fungus growth.
Gardening Gloves
A good pair of gardening gloves make all the difference when transplanting seedlings. Sometimes, no matter how good your shovel or trowel is, you'll have to get in there and grab some handfuls of dirt. Trust me, it takes a while to dig the dirt out from under your fingernails! Plus there's no telling what little critters are lurking under the soil and it's best not to get bit if we can help it.
Compost
The amount of compost you'll need will depend on the number of seedlings you're transplanting. Unless you're transplanting a lot of them, I'd recommend starting with a 1.5 to 2 cubic-foot bag. Almost any kind of compost will work, from wood chips to good quality peat-moss. Just try to avoid fresh manure as it can burn the tender roots of the seedlings.
When to Transplant Tomato Plants
To transplant tomato seedlings into the garden, the outside soil temperature needs to be at least 55 F (13 C) at night and 75 F (24 C) during the day.
After repotting seedlings, the time frame for them to grow indoors is about 4 to 5 weeks. During the last week or so, you need to slowly transition plants into the outdoors.
Take the plants outside for them to get a little bit of sun each day before planting them in your garden. The sun will burn the plants if you don't acclimate them slowly.
The acclimation process should be done for about one week before transplanting. On the first day, expose seedlings to direct sun for two hours. Increase one to two hours of sun exposure each day. On the seventh day, the plants should be exposed to the sun for about eight to ten hours.
How to Start Transplanting Tomato Seedlings - Step by Step
In ten simple steps, you can easily start transplanting tomato seedlings to your garden. Let's look at each of them in more detail:
Step 1: Choose the Right Time
Timing is critical when transplanting seedlings outdoors. Wait until the soil has warmed up sufficiently to at least 55°F (13°C), and there is no risk of frost. If the seedlings are transplanted too early, they may not survive the colder temperatures, and if transplanted too late, they may not have enough time to mature before the end of the growing season.
Another important thing you need to remember is that it's best to transplant your tomato seedlings in the evening. This gives the plants time to acclimate to their new surroundings before the heat of a new day.
Step 2: Choose a Good Location
Choose a location that receives full sun, at least six hours per day, to promote optimal growth and development. The soil should be well-drained and fertile, with a pH level between 6.0 and 7.0.
The site should also be protected from strong winds, which can damage the plants. If your garden gets limited sunlight, you can still grow tomatoes, just be sure to use a variety that grows in partial sun.
Step 3: Harden Off Seedlings
Seedlings grown indoors are not accustomed to the harsh outdoor environment. A week before transplanting, gradually expose the seedlings to outdoor conditions by placing them in a sheltered, shady spot for a few hours a day, gradually increasing their exposure over time. This will help the seedlings adjust to the wind, sun, and temperature fluctuations outdoors.
Step 4: Dig the Holes
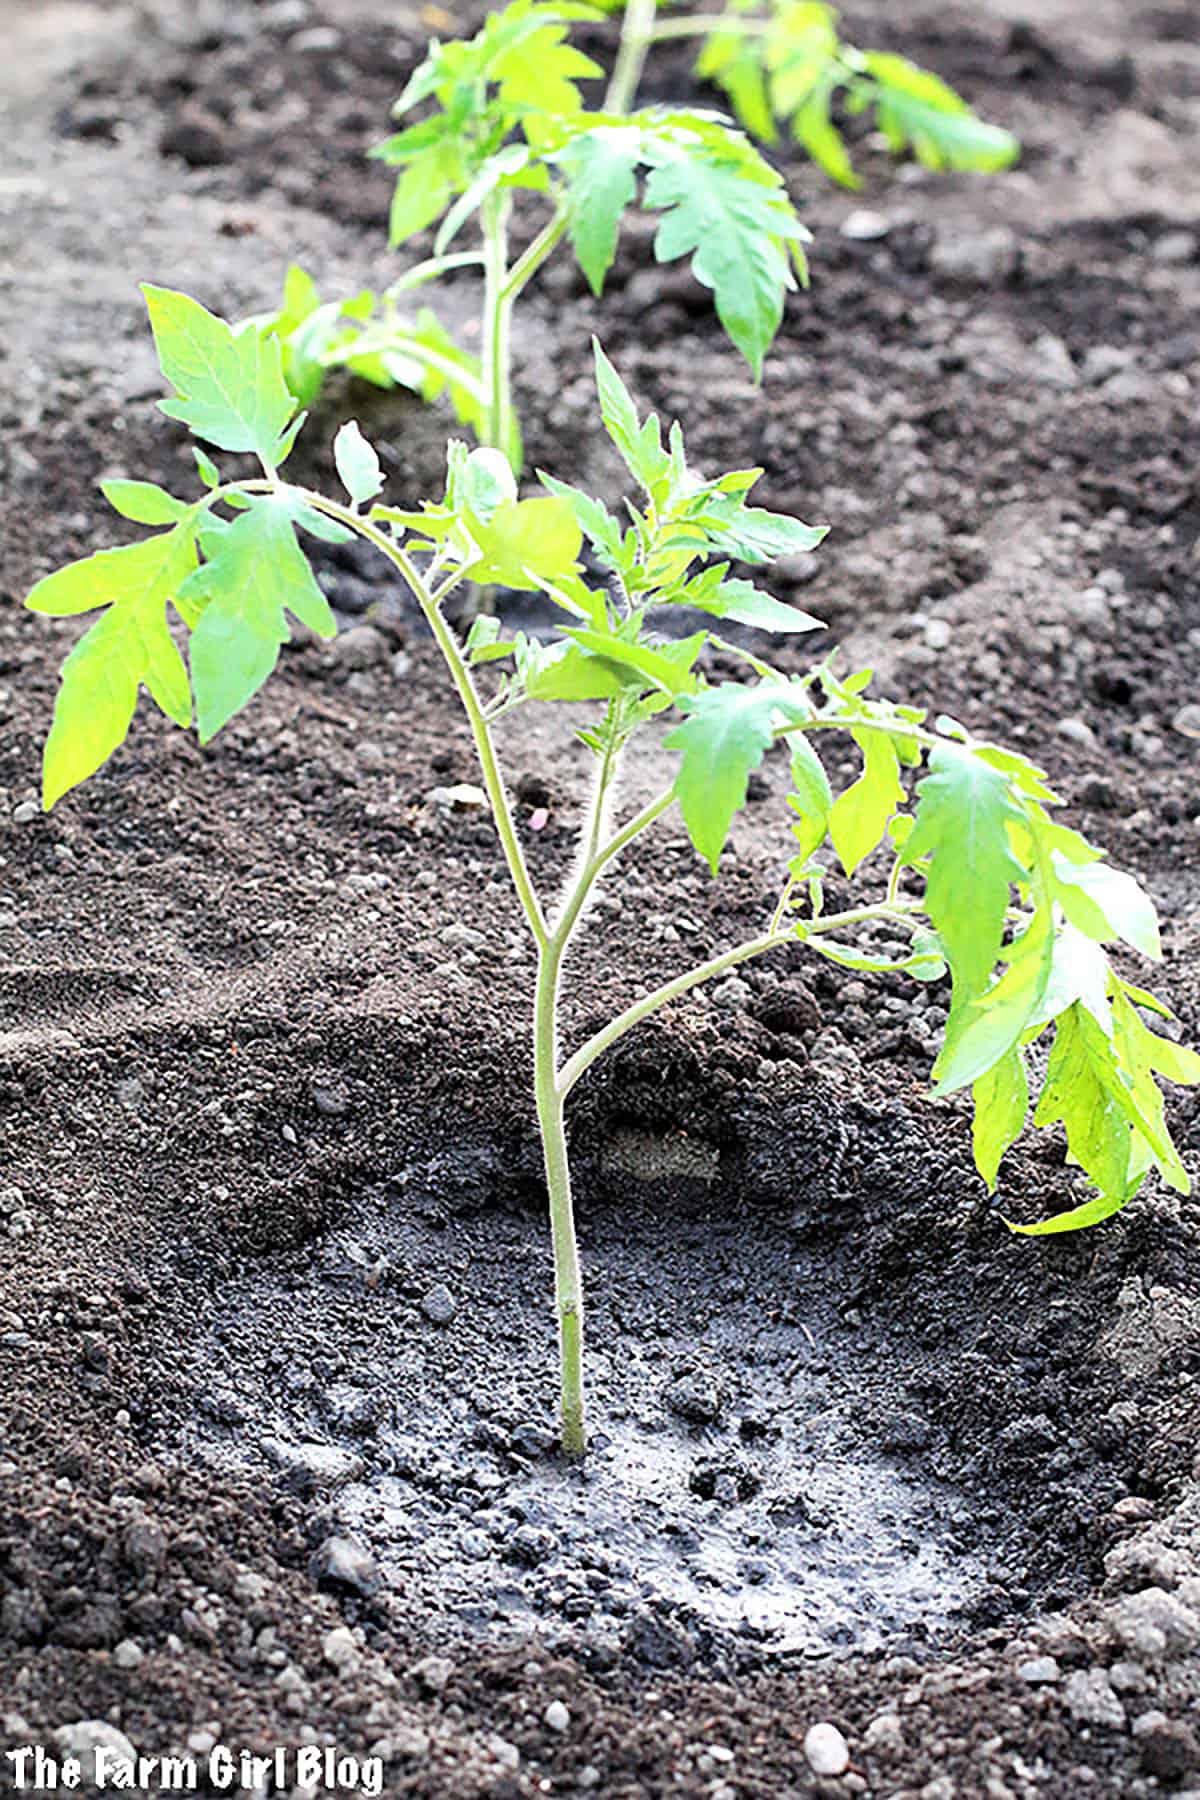
Dig holes deep enough to bury the seedlings up to the first set of leaves. Tomato plants will develop roots along the buried stem, which will help anchor them and make them more resilient to wind and weather.
A good rule of thumb is to dig a hole about twice as deep and twice as wide as the root ball of the seedling. Don't worry about digging it too deep on accident, you can always put some soil back when you transfer the seedling.
Step 5: Add Compost
Add compost or other organic matter to the planting hole to improve soil fertility and moisture retention. This will help the young plants establish themselves more quickly and grow more vigorously. You can use aged animal manure or a good quality peat-based potting compost, just be sure it's well draining and preferably between 5.8 - 7.0 pH.
Step 6: Remove Seedlings
Carefully remove each seedling from its container, being very cautious not to damage the root systems. A good way to do this is by gently squeezing the sides of the seed trays or plastic pots, then turning them upside-down.
Try not to tug on the stem of the seedling unless you absolutely have to. If they do need a slight tug, grab them at the base of the stem nearest the soil and pull very gently until the root ball comes loose.
Step 7: Plant Seedlings
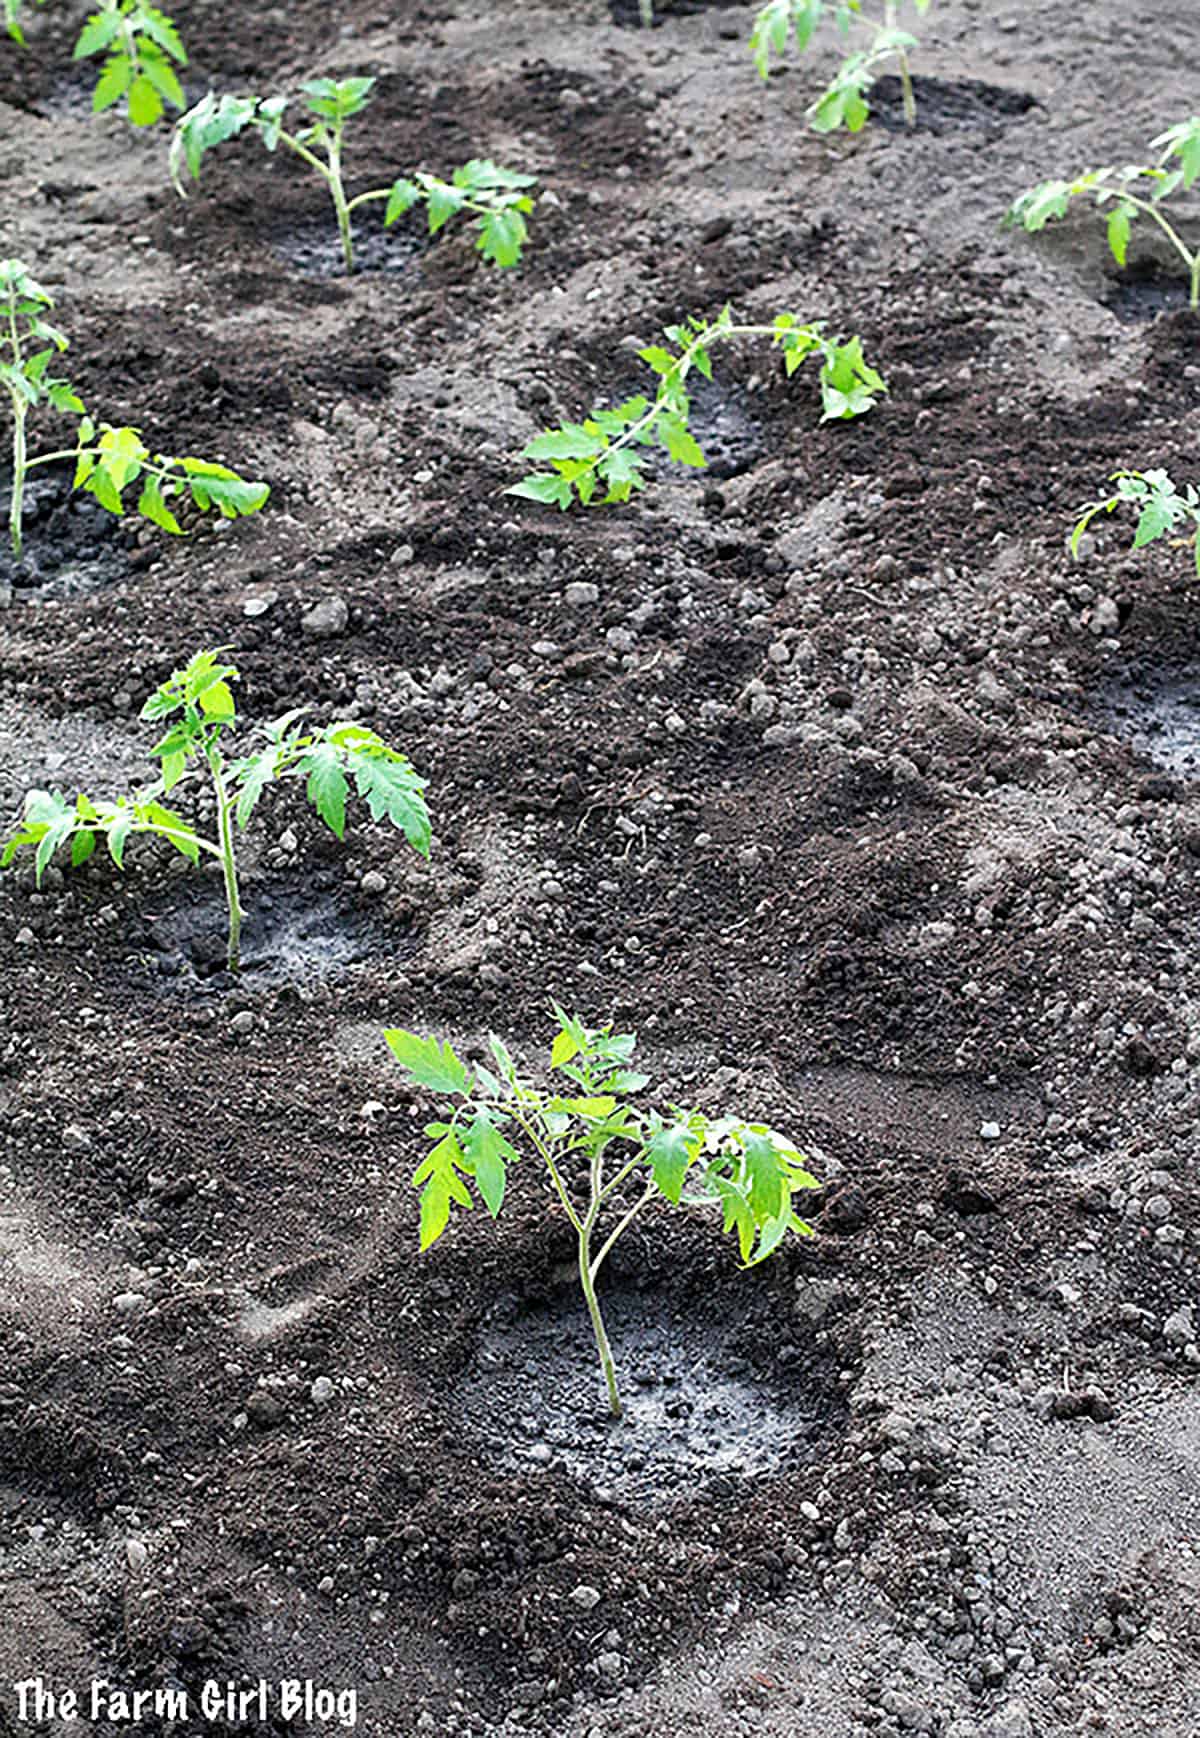
Put a seedling into the holes you dug earlier, one seedling per hole. The top of the hole should be level with the bottom set of leaves. If it's too deep, throw some soil back in until it's the correct height.
With the seedling in the hole, add a little soil around the sides of the root ball at a time, packing the soil lightly with your fingers. Be careful not to pack it too tightly or the roots will have a hard time growing outwards initially.
Step 8: Space Tomato Seedlings Properly
The distance between the stems of the two plants will be specified on the package, usually about 2 feet (48 cm). Not having proper spacing with result in plants competing with each other for sun, space, and nutrients. This results in fewer or smaller tomatoes, and even breeds diseases due to lack of airflow that can kill your plants.
Step 9: Water Seedlings
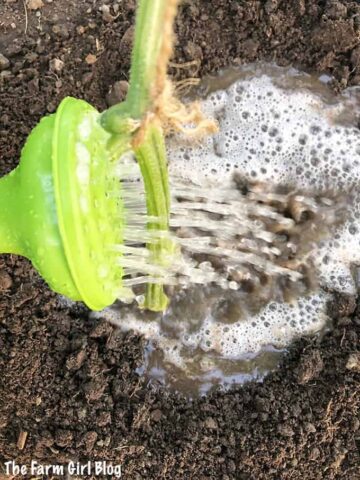
Fully saturate the seedling's soil with their first watering. When watering them, be sure to pour the water slowly and deeply. This helps the water penetrate further into the soil, stimulating deeper root growth in the seedlings. Also, always water the seedlings at their base, close to the soil.
Watering over the top promotes disease and fungus growth which is very detrimental to your new seedlings. Read more about watering and fertilizing tomato plants to prevent disease and proving the best growth.
Step 10: Add Support
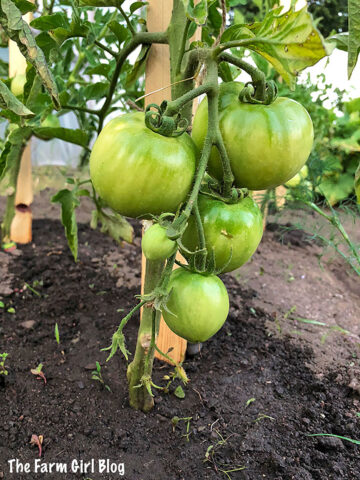
Depending on the variety of seedlings you're growing, you may need to add support structures. This gives the tomato vines something to grow on, preventing them from falling or breaking once their heavy fruit comes in.
There are a variety of tomato supports available, from stakes and cages to trellises and string systems. Pick the one that's best for your tomato variety and add it soon after transplanting your seedlings.
WATCH YOUTUBE VIDEO BELOW ON HOW TO TRANSPLANT TOMATO SEEDLINGS INTO THE GARDEN.
If you enjoyed this video, please Subscribe to my YouTube channel, and be sure to click the bell icon so you can be the first to know of a new video when released!
Similar Posts You'll Love
Please follow me for more deliciousness on Facebook, Instagram, and Pinterest!


Thank you so much for putting together such detailed instructions. I had a hard time finding info about transplanting our plants!
You are very certainly welcome! I’m so glad you found it helpful!
Hi, I wanted to let you know I found your article about when to transplant tomato very helpful. Thank you, Richard
Thank you clear and understandable
You are welcome!