Learning how to prune a rose bush is one of the most important things you can learn as a home gardener with a rose bush!
Although it may seem counterintuitive to cut back a gorgeous rose bush, frequent pruning actually promotes new growth, shapes the plant, and removes dead wood to lower the risk and chances of disease.
However, it can be quite confusing to know exactly how to prune a rose bush and what supplies you'll need, especially if this is your first time doing it. But don't worry, I've got you covered!
Rose bushes can be pruned in a variety of ways. It depends on the size, age, and direction you want the rose branches to grow. You'll get the best-looking roses from new growing branches, so it's recommended to remove most of the old ones. Plus, the more air circulation your bush has, the better blooms you'll get!
In this article, we'll go over everything you need to know to prune your rose bush easily including when to prune it, the supplies you'll need, and the 5 basic steps to prune a rose bush. I've even included a video to make sure you know exactly how to prune a rose bush.
Table of Contents
When to Prune a Rose Bush
There are definitely basic rules and guidelines as to when to prune your rose bush. However, I recommend paying attention to the plant, not the calendar since mother nature is usually right! This will especially come in handy with all the changing weather patterns and conditions.
In general, the best time to prune rose bushes is in late winter or early spring as new growth starts to emerge and you start noticing buds growing. In my area, the pruning season usually begins in the middle to the end of March.
Here are some regional estimates according to USDA Zones:
Zones 3 and 4: May
Zones 5 - 7: March or April
Zones 8: February or March
Zones 9: January or February
Zone 10: February
Gardening Supplies You'll Need to Prune a Rose Bush
Here are the tools you'll need to easily prune your rose bush:
- Safety glasses
- Gloves
- Long-sleeved clothing
- Long handle Pruning Shears
For the best results, here are some important things to keep in mind:
- Tools: To prune a rose bush, you will need a good pair of pruning shears or loppers. Look for high-quality tools with sharp blades and sturdy handles. Avoid using dull or rusty tools, as they can crush the plant tissue rather than making a clean cut, which can lead to disease.
- Cleanliness: Before pruning, it's important to clean your tools to prevent the spread of disease. You can disinfect pruning shears by wiping the blades with a cloth dipped in rubbing alcohol or a 10% bleach solution. Rinse the tools with water and dry them thoroughly before using them.
- Technique: When making cuts, be sure to use a clean, sharp blade to avoid tearing or damaging the plant tissue. Hold the pruning shears at a slight angle and make a clean cut that is flush with the branch or stem you are removing. Avoid leaving any ragged or uneven edges, as they can provide entry points for disease.
By using clean, sharp pruning shears and making clean cuts, you can help ensure that your rose bush stays healthy and disease-free.
How to Prune a Rose Bush
Here are 5 basic steps for pruning your rose bush easily:
Step 1: Remove All Remaining Leaves First
Remove all of the remaining leaves first. This enables you to view the structure of the bush and all the stems (canes) clearly (stems). This step also gets rid of any bugs or diseases that may have been hiding in the leaves all winter.
Step 2: Clip Off Dead Branches
Before you begin pruning, take a close look at the rose bush to identify any dead or diseased wood.
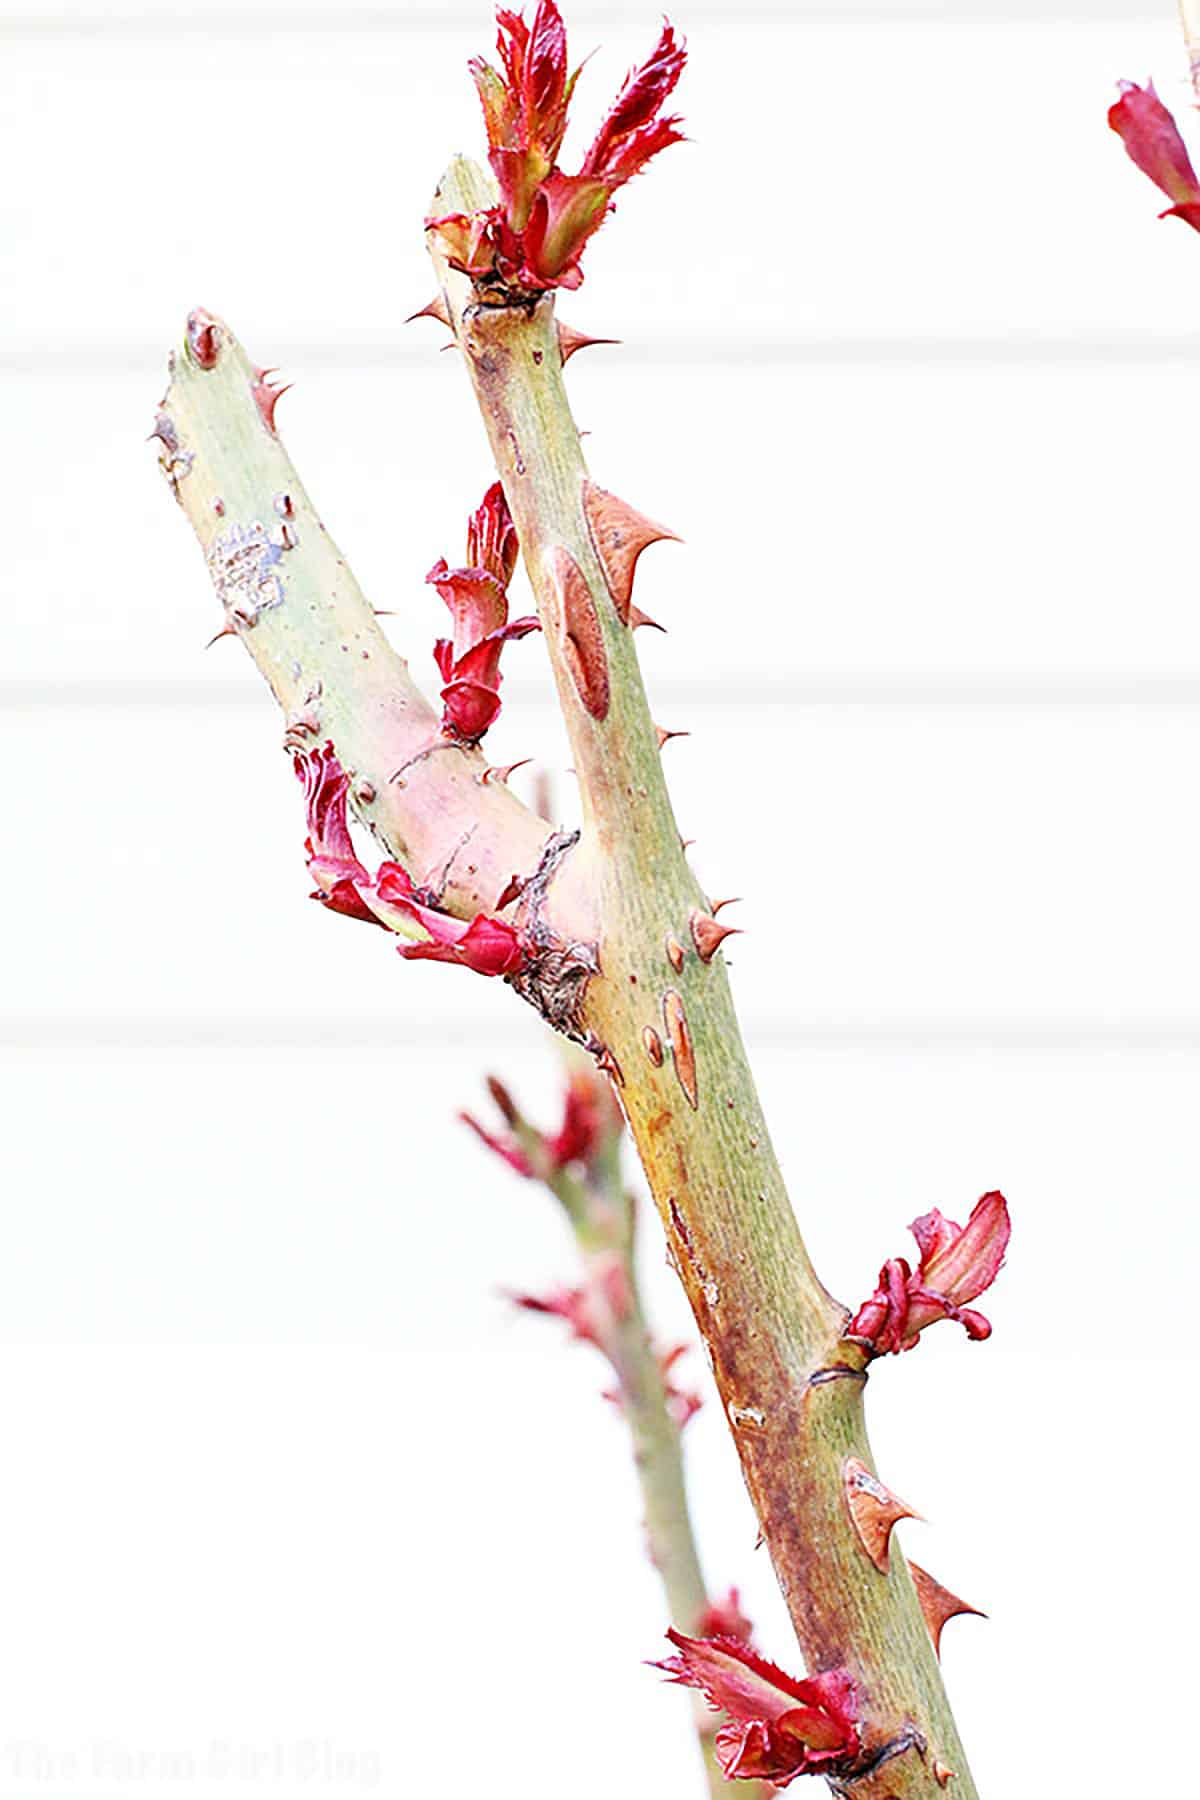
The easiest way to identify dead, diseased, or damaged wood and stems is by their color. Healthy branches will be green, orange, or red during the pruning season.
But, on the other hand, diseased or dead wood will be brown, gray, black, and brittle, while diseased wood may have discoloration, cankers, or other signs of illness. Removing this wood will help promote healthy growth and prevent the spread of disease.
I recommend branches at a 45-degree angle to prevent water from collecting on top of the cut, which would encourage the growth of mold and harm your rose bush. By cutting branches at an angle, water will run off and the plant will grow more healthily.
After removing dead or diseased wood, be sure to dispose of it properly to prevent the spread of the disease. You can either compost the wood if it's not diseased or dispose of it in the trash if it is diseased.

Step 3: Open Up the Center
Next, it's important to open up the center by clipping off crossed branches.
Crossed or rubbing branches occur when two or more stems grow close together and begin to rub against each other as they grow.
This can cause damage to the bark and create entry points for disease. It's important to remove these branches to promote healthy growth and prevent further damage.
If you're faced with a choice between removing a crossed or rubbing branch and a healthy branch that's growing in the wrong direction, prioritize removing the crossed or rubbing branch. This will help prevent damage and promote healthy growth overall.
For the small and young rose bushes like the one I have pictured here, you need to clip the branches off to form a vase with an open center. Also, keep in mind when clipping that you should not leave buds that will grow into crossing branches.
When clipping the old growth, it's best to get as close to the main stem as possible, preferably leaving the stem that will grow facing outward instead of inward. This is because inward-growing branches will often grow into a center of a rose bush causing branches to cross.

Step 4: Remove Weak Growth
The next step is to remove weak and thin growth from your rose bush. This is done for several reasons.
Weak, thin stems are often the result of poor nutrition or disease. By removing them, you are encouraging the rose bush to put its energy into developing stronger, healthier stems that will produce more flowers.
Plus, such growth can be a breeding ground for pests and diseases. By removing them, you improve the air circulation around the rose bush, which can reduce the likelihood of these problems developing.
As a bonus, it can help to shape the rose bush and make it look more attractive. This can be especially important if you are growing roses for their ornamental value.
Step 5: Prune the Remaining Canes
Time to prune the rest of the stems (canes).
Prune by cutting ¼" to ½" above an outward-facing bud eye which is a small bump found where a leaf would meet the stem). Fresh stems emerge from the bud, and the idea is to encourage them to develop outward rather than inward.
Create cuts that slope away from the bud at a 45-degree angle, allowing water to drain off. The outward-facing bud will promote growth away from the center of the plant, which improves air circulation and reduces the risk of disease.
Prune your rose bush down to the height you want it to be and try to keep it about the same height all over. If it's in the back of a border, leave it a little taller, and if it's in the front, cut it lower.
You'll be left with a properly pruned rose bush that will grow healthy roses that look beautiful.
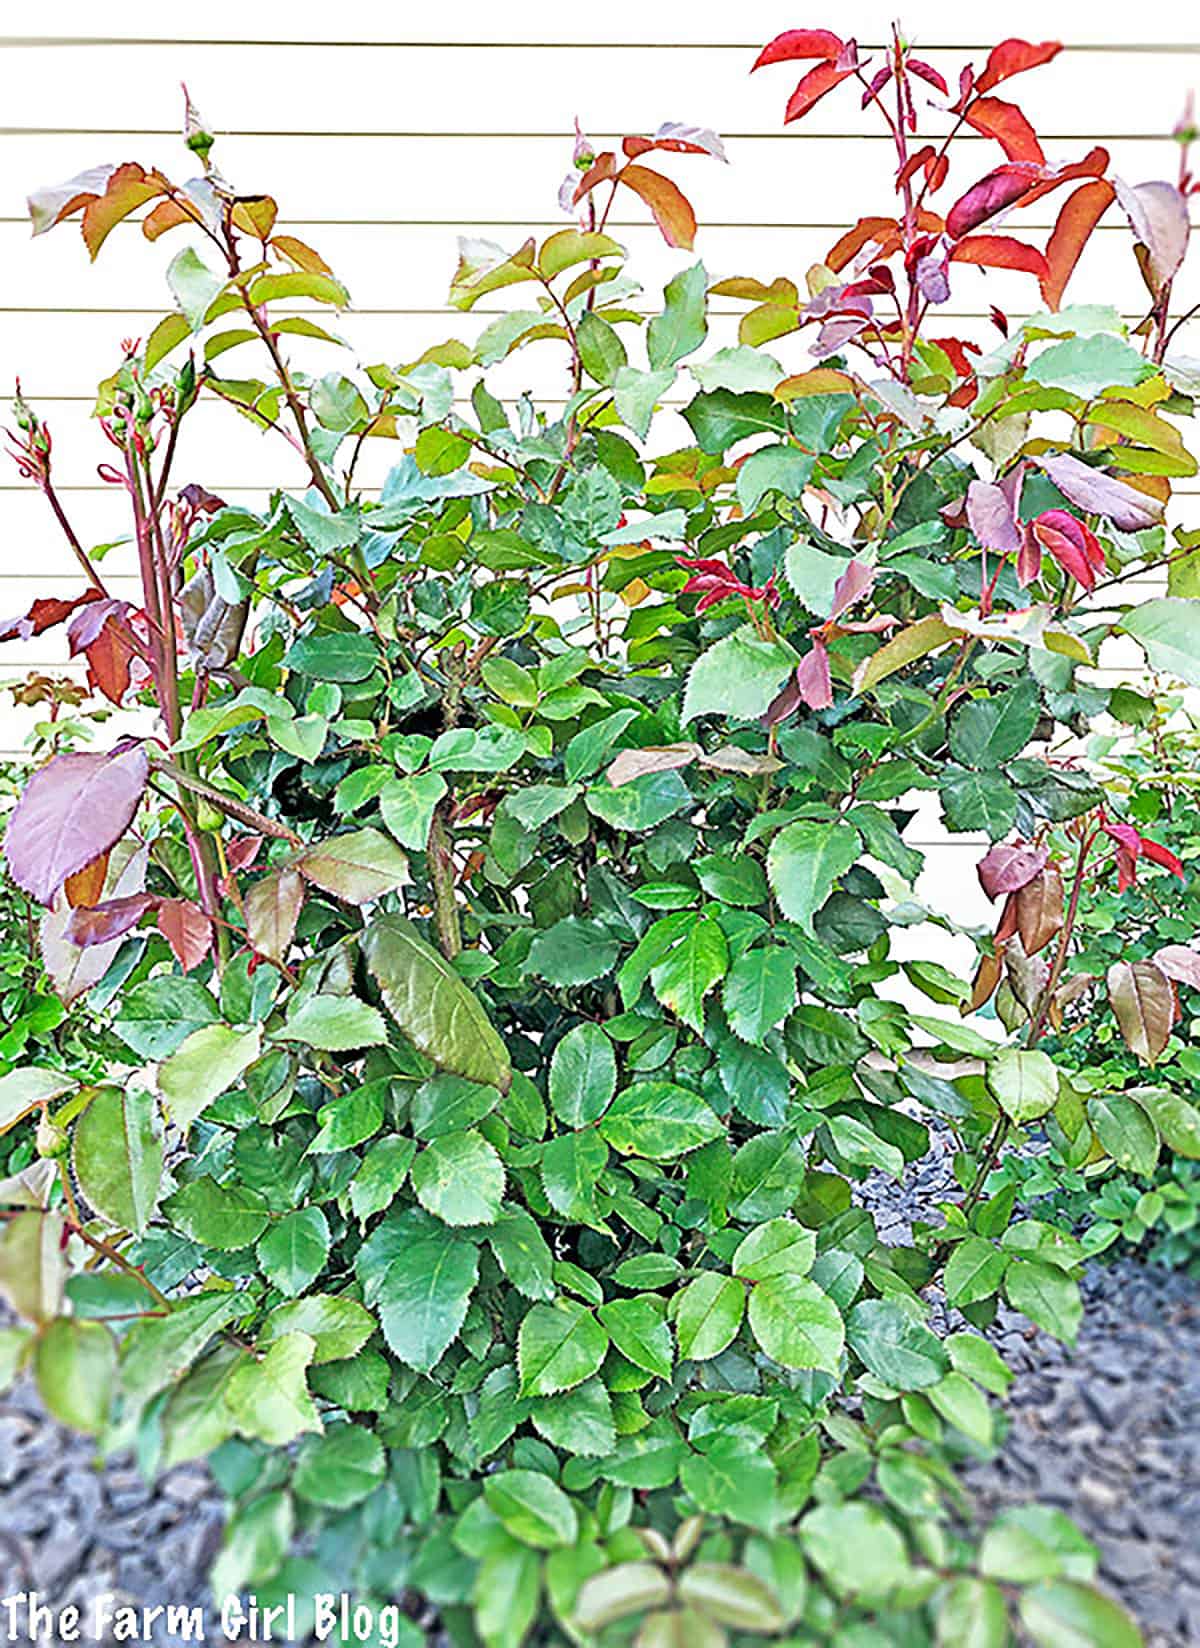
Here's a picture of the same rose bush 4 weeks later:
Video
Watch a YouTube Video Below on How to Prune a Rose Bush.
If you enjoyed this video, please Subscribe to my YouTube channel, and be sure to click the bell icon so you can be the first to know of a new video release!
Looking for more Gardening tips? Check it out HERE!
Love this How to Prune a Rose Bush (Video) Post? Please Save and Pin on Pinterest!


Leave a Reply