Planting tomato seeds is not only a great way to start your own vegetable garden at home, but it also allows you to choose from a wide variety of tomato cultivars and ensure that your plants are free from disease and pests!

Tomato plants are one of the easiest vegetables to start growing indoors from seeds. You'll need to start this process about four to six weeks before the last spring frost date in your area. Plus, you only need a few supplies to get started with your very own tomato vegetable garden!
Whether you're a seasoned gardener or a beginner, this guide will provide you with all the information you need to successfully plant tomato seeds and grow healthy, robust tomato plants.
In this post, I'll share the three supplies you need to plant tomato seeds and explain how in simple step-by-step instructions!
Supplies For Planting Tomato Seeds
First of all, we'll need three simple supplies to start planting tomato seeds at home. Let's look at what each of these are:
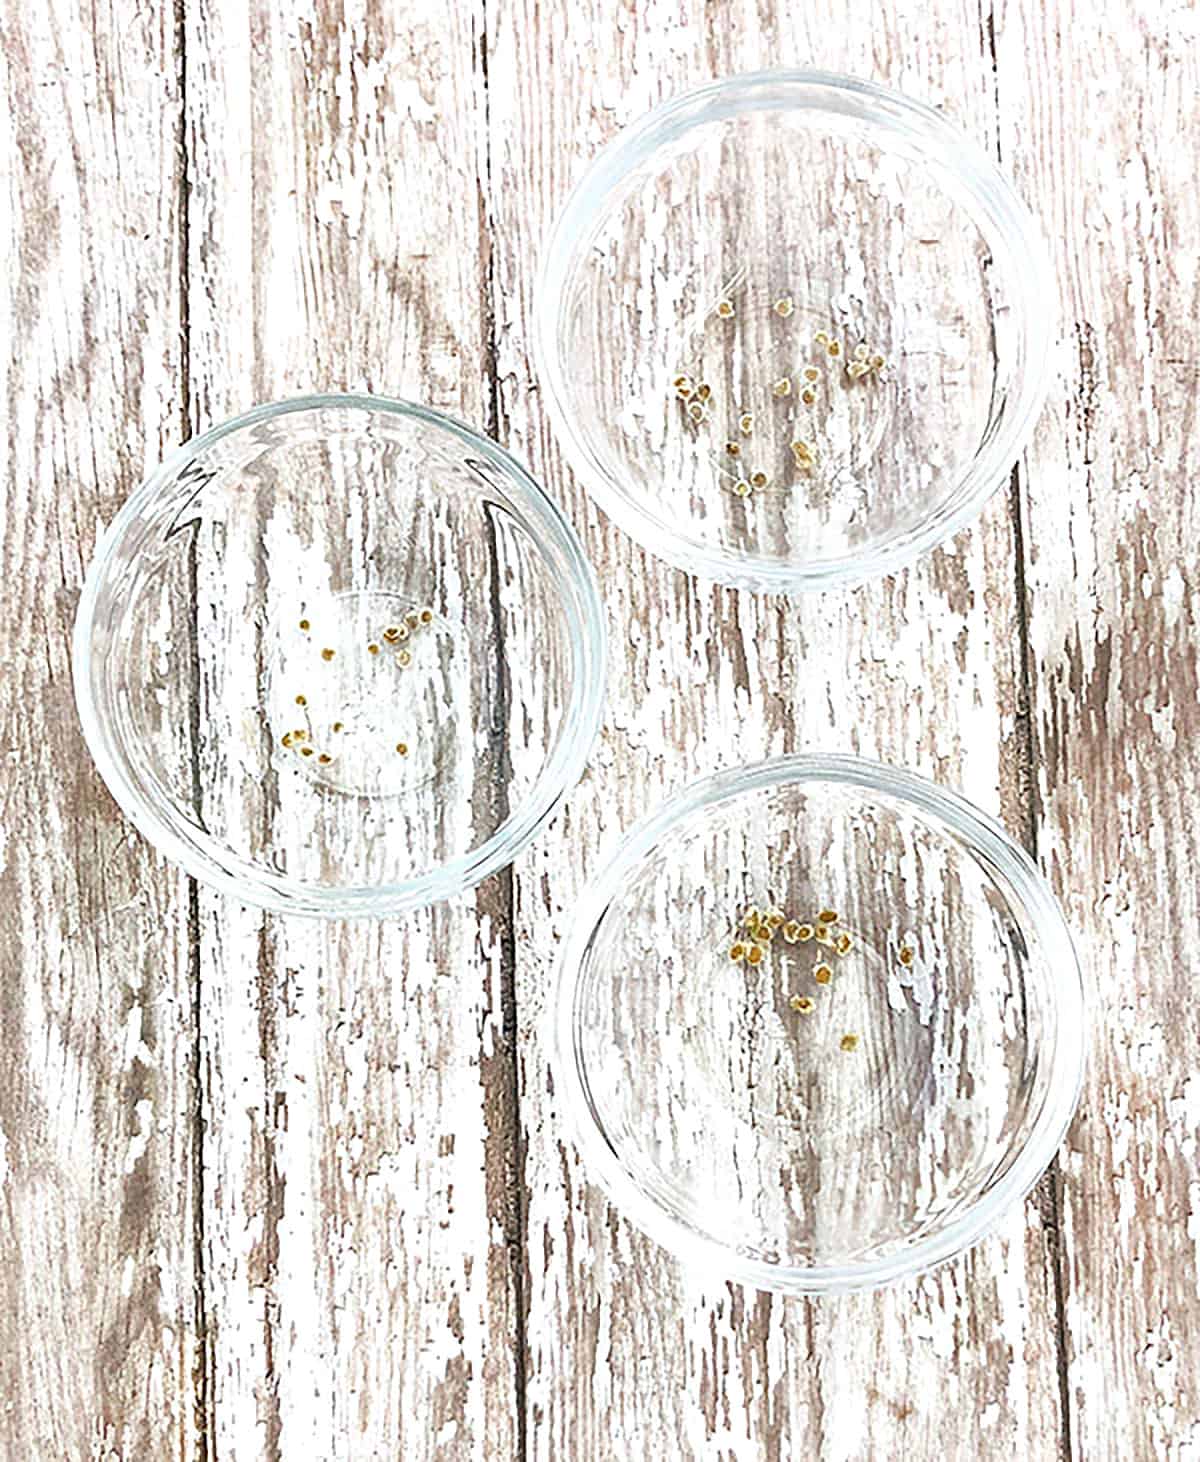
1. Tomato Seeds
If you're planting tomatoes at home from seed, you can choose from a wider selection of strains than you'd find in transplants at the garden center.
Seed catalogs have a huge number of varieties, such as short-season, long-season, determinate, and indeterminate tomatoes, as well as cherry, grape, plum, cocktail, beefsteak, heirloom, hybrid, and even striped tomatoes!
Also, if you have old packets of tomato seeds lying about and are wondering if they are still good to use, you should look at the date printed on the packet to see if they have expired. If they are kept in a dry, dark, and cool place, they will be good for five years!
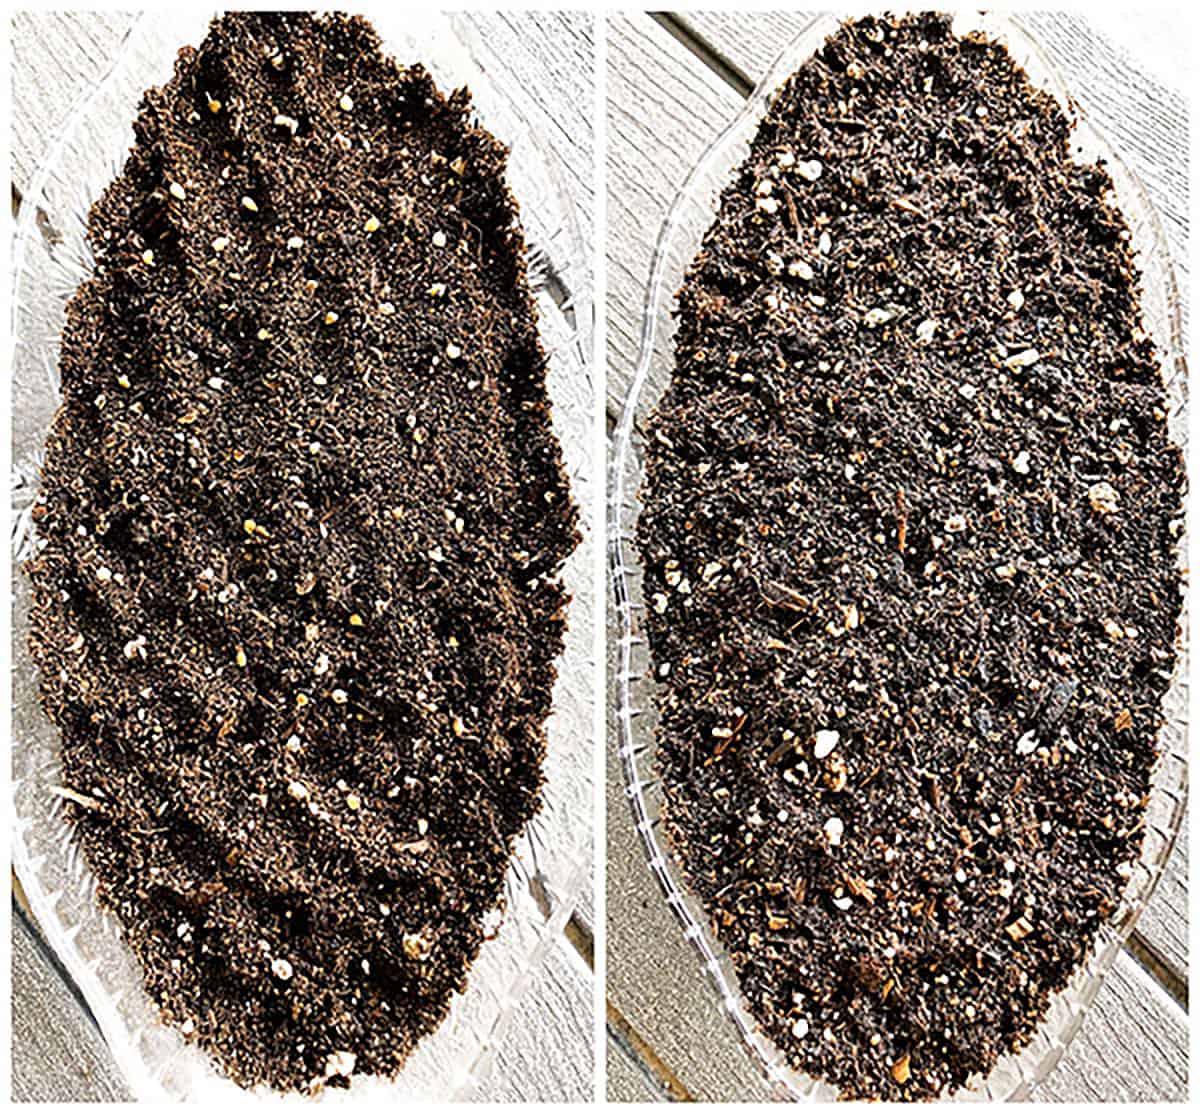
2. Starting Mix
Either potting soil or soilless starting mix can be used to plant seeds. But before you get started, make sure it's sterile by checking the package.
Your young tomato plants' health could be put at risk if you transplant them into regular garden soil that has not been sterilized. This could result in the introduction of hazardous pathogens, such as those that cause damping off disease.
If this condition happens, the stems of your seedlings will become brown just above the soil line. The stems will wither, and the young plants will die and collapse.
For this reason, it's important to get good-quality potting soil. I prefer getting mine at Costco for fraction of the cost!
3. Starter Trays
There are a lot of different kinds of containers you can use as starter trays.
You can buy trays made of plastic or biodegradable material that are made just for seedlings.
Alternately, you can reuse egg cartons, toilet paper rolls, paper or plastic cups, or practically any other shallow container that can hold your potting mix.
Regardless of the sort of container you select to start your seedlings, ensure that it has adequate drainage. If the roots of your tomato seedlings remain too wet, they will be more susceptible to diseases such as 'damping off.'
Make sure the containers aren't too big, either. Tomatoes should be started in a smaller container and moved to a larger container as needed because the soil in the larger container may be excessively damp in the beginning.
And so, you can purchase a seed starter on Amazon, but I keep it simple and use any kind of container.
8 Steps to Planting Tomato Seeds
Here are the eight simple steps to start planting tomato seeds at home:
1. Know When to Sow
Getting the best crop from your tomato plants requires knowing when to plant the seeds. Planting tomato seeds should be done four to six weeks before the spring average last frost date in your region. This gives you some breathing room in case a late frost unexpectedly hits your area.
2. Prepare Trays
Now that you're fully prepared, let's get started!
Fill your seed trays with starting mix. Loosely fill each cell, then lightly tap the tray to get rid of any air bubbles.
The soil should fill the cells completely without compacting. The roots of your plants will spread out nicely in loose soil, but not in compacted soil.
Carefully smooth the soil's surface to make it level. Leave ¾ of an inch of space above the soil line at the top of the cells.
3. Sow Seeds
Time to sow our seeds! Shake out some seeds from your seed packet into your hand.
Shake some of the seeds out of the packet and into your hand. Plan to sow two to three seeds per cell to make up for any that may not germinate.
Spread the seeds evenly apart when you first place one on the soil's surface before adding the others.
Then sprinkle additional soil to cover the holes with seeds about a half-inch thick. Once again gently firm the sprinkled soil mix, and lightly pat the surface of the soil to smooth it.
4. Water Gently
Spray your seeds with water from a spray bottle until the soil is damp but not saturated. This equates to four or five sprays, depending on your spray bottle and the size of your seedling tray.
Put as many seed markers as you need in the tray along the edge of the cell, away from where you put your seeds, and write the name of your variety and the date seeds were sowed on them.
5. Move to the Window Sill
Place your seed trays in your germination station, which can be a greenhouse, grow, dome, or simply your window sill which is my preferred way of doing it.
You might not even need a heat mat if you put your seed tray next to a sunny window. But, a heat mat can be used to keep the soil in your trays between 70 and 80 degrees Fahrenheit, which is the recommended temperature.
You won't need to expose your tomato trays to light until they sprout. Tomato seeds don't need light to germinate, unlike certain other kinds of seeds.
Inspect your trays once or twice every day and use your spray bottle to water when the soil's surface is dry. Germination will happen in a week or two.
6. Provide Ample Light to Seedlings
Whether you choose to use a sunny southern window or a grow light, be prepared to give light to your newly emerging tomato seedlings.
If you are using a grow light, put it two to three inches above your starts.
Your plants will tilt toward the window if you use a window as a source of light. Rotate your seed trays every few days to fix this and get your plants to grow straight.
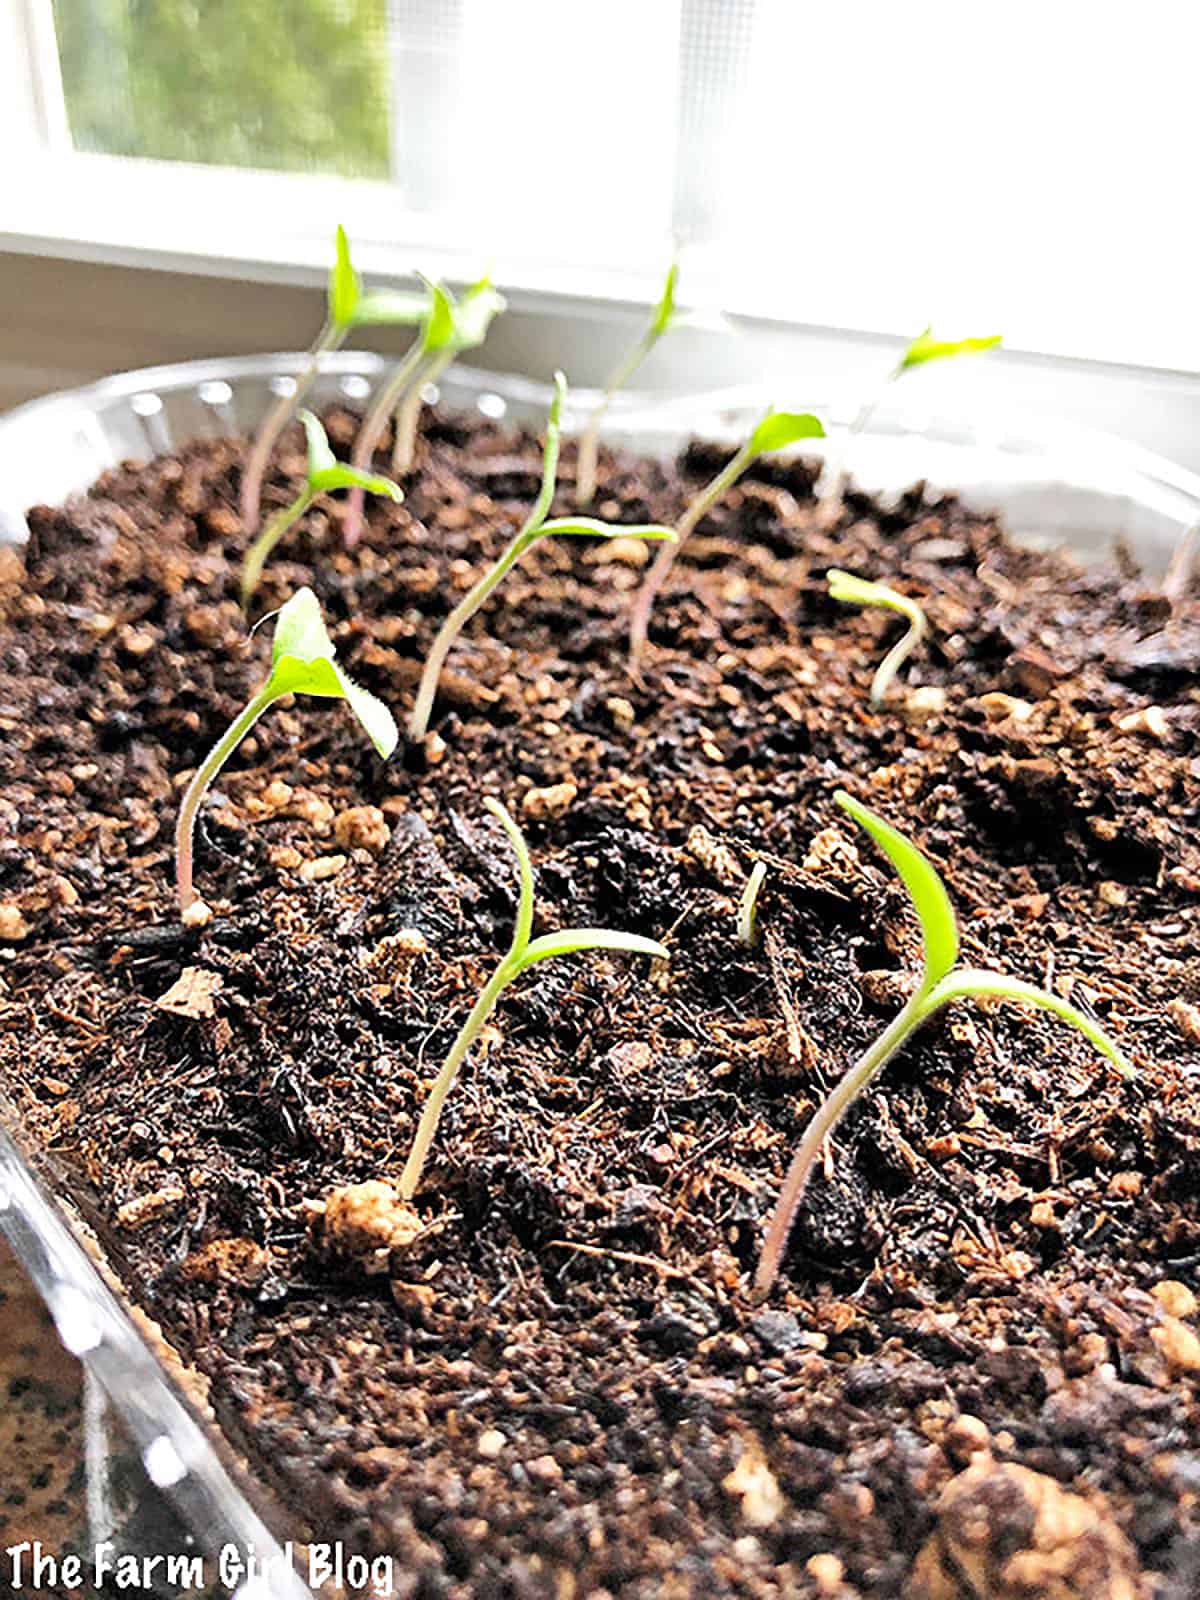
7. Take Daily Care of Your Seedlings
Your young tomatoes require daily maintenance. When the soil's surface is dry, use your spray bottle to water once or twice every day.
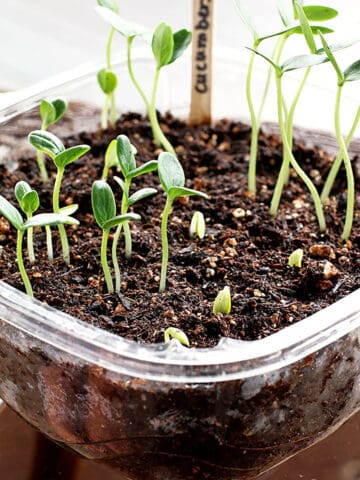
Tomato plants 4 days after planting are shown in the picture below. They were barely reaching half-inch in length.
Ventilate your germination station to prevent overheating. Indoor temperatures exceeding 95 degrees Fahrenheit restrict plant growth.
You can also lightly brush your hands over the leaves of your baby tomato plant several times a day, or expose them to the breeze of a mild fan. The idea behind this is to strengthen their stems by simulating wind.
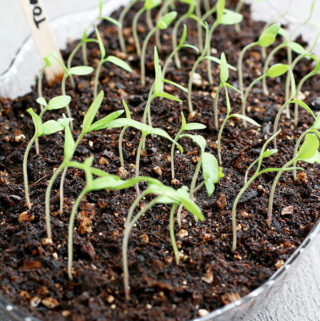
8. Repot and Harden Off
When the seedlings are about 2 to 3 inches tall and have 2 sets of leaves, it's time to transplant individual tomato seedlings into bigger pots. Read more about transplanting tomatoes.
The following picture shows the result of germinated tomato plants. They grew to about one and a half-inch tall 7 days after being planted!

I order my seeds from Nikitovka Seeds.
Printable Card
How to Start Planting Tomato Seeds (Step-by-Step Guide)
Ingredients
You will need
- Tomato Seeds
- Tomato Starter Container/kit
- Starter Soil Mix
Instructions
Know When to Sow
- Planting tomato seeds should be done four to six weeks before the spring average last frost date in your region. This gives you some breathing room in case a late frost unexpectedly hits your area.
Prepare Trays
- Fill your seed trays with starting mix. Loosely fill each cell, then lightly tap the tray to get rid of any air bubbles.
- The soil should fill the cells completely without compacting. The roots of your plants will spread out nicely in loose soil, but not in compacted soil.
- Carefully smooth the soil's surface to make it level. Leave ¾ of an inch of space above the soil line at the top of the cells.
Sow Seeds
- Spread the seeds evenly apart when you first place one on the soil's surface before adding the others.
- Then sprinkle additional soil to cover the holes with seeds about a half-inch thick. Once again gently firm the sprinkled soil mix, and lightly pat the surface of the soil to smooth it.
Water Gently
- Spray your seeds with water from a spray bottle until the soil is damp but not saturated.
Move to the Window Sill
- Place your seed trays in your germination station, which can be a greenhouse, grow, dome, or simply your window sill which is my preferred way of doing it.
Provide Ample Light to Seedlings
- Your plants will tilt toward the window if you use a window as a source of light. Rotate your seed trays every few days to fix this and get your plants to grow straight.
Take Daily Care of Your Seedlings
- Your young tomatoes require daily maintenance. When the soil's surface is dry, use your spray bottle to water once or twice every day.
Repot and Harden Off
- When the seedlings are about 2 to 3 inches tall and have 2 sets of leaves, it's time to transplant individual tomato seedlings into bigger pots.
Love this How to Start Growing Tomato Seeds Indoors post? Please follow us on Instagram, Pinterest, or Facebook for more!

Very informative
Thank you for finding this post helpful!
Valya what kind of soil mix do you use for the tomatoes? Is there a brand you like?
I usually use an organic potting mix from Costco.
Thank you!!!
Hello, I found your article about how to start growing tomato seeds indoors really helpful..thanks, Richard
Just started my seeds indoors. Now starting to grow, your page was so helpful for what to do next.
Thank you for your feedback! 🙂